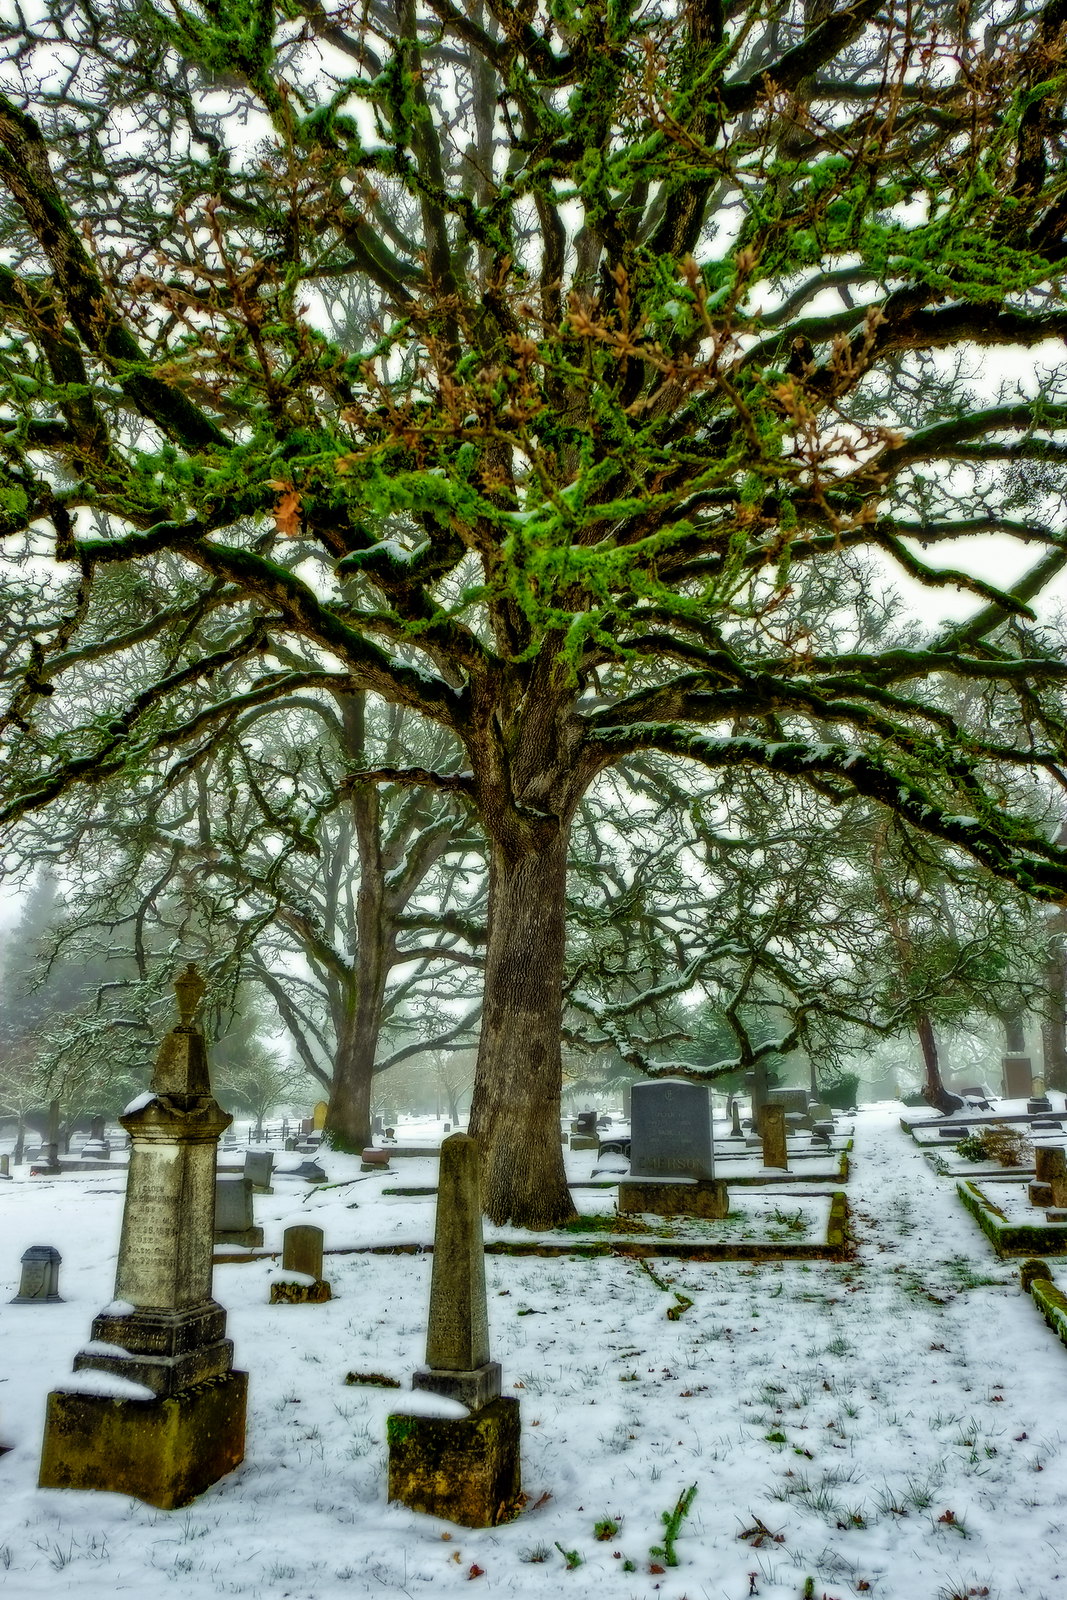
Thanks Lee, glad you did like it!
You ask a loot of my memory
")
But:
:lecture:
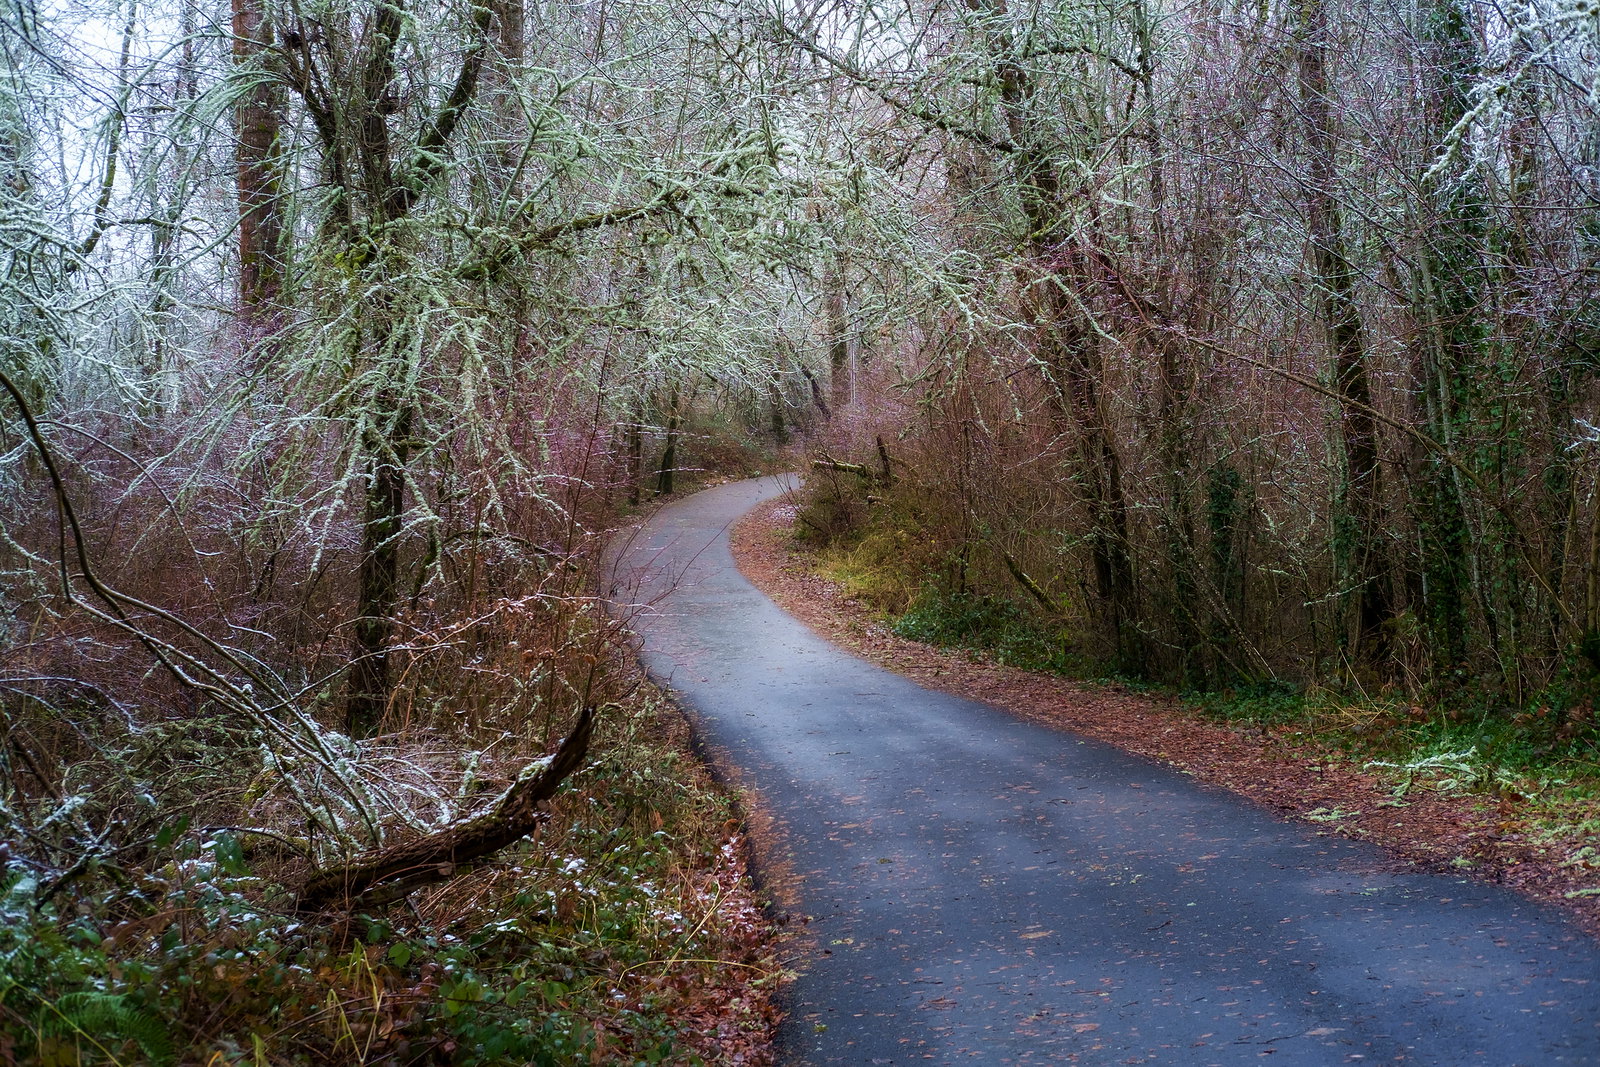
I bring all Fuji RAW-files trough PhotoNinja.
There I mostly just fix horizont, crop and add maybe 8-10 of detail under Exposure and detail.
And then to Photoshop ->
Then make a copy of layer and open it in Nik collection and HDR Efex Pro.
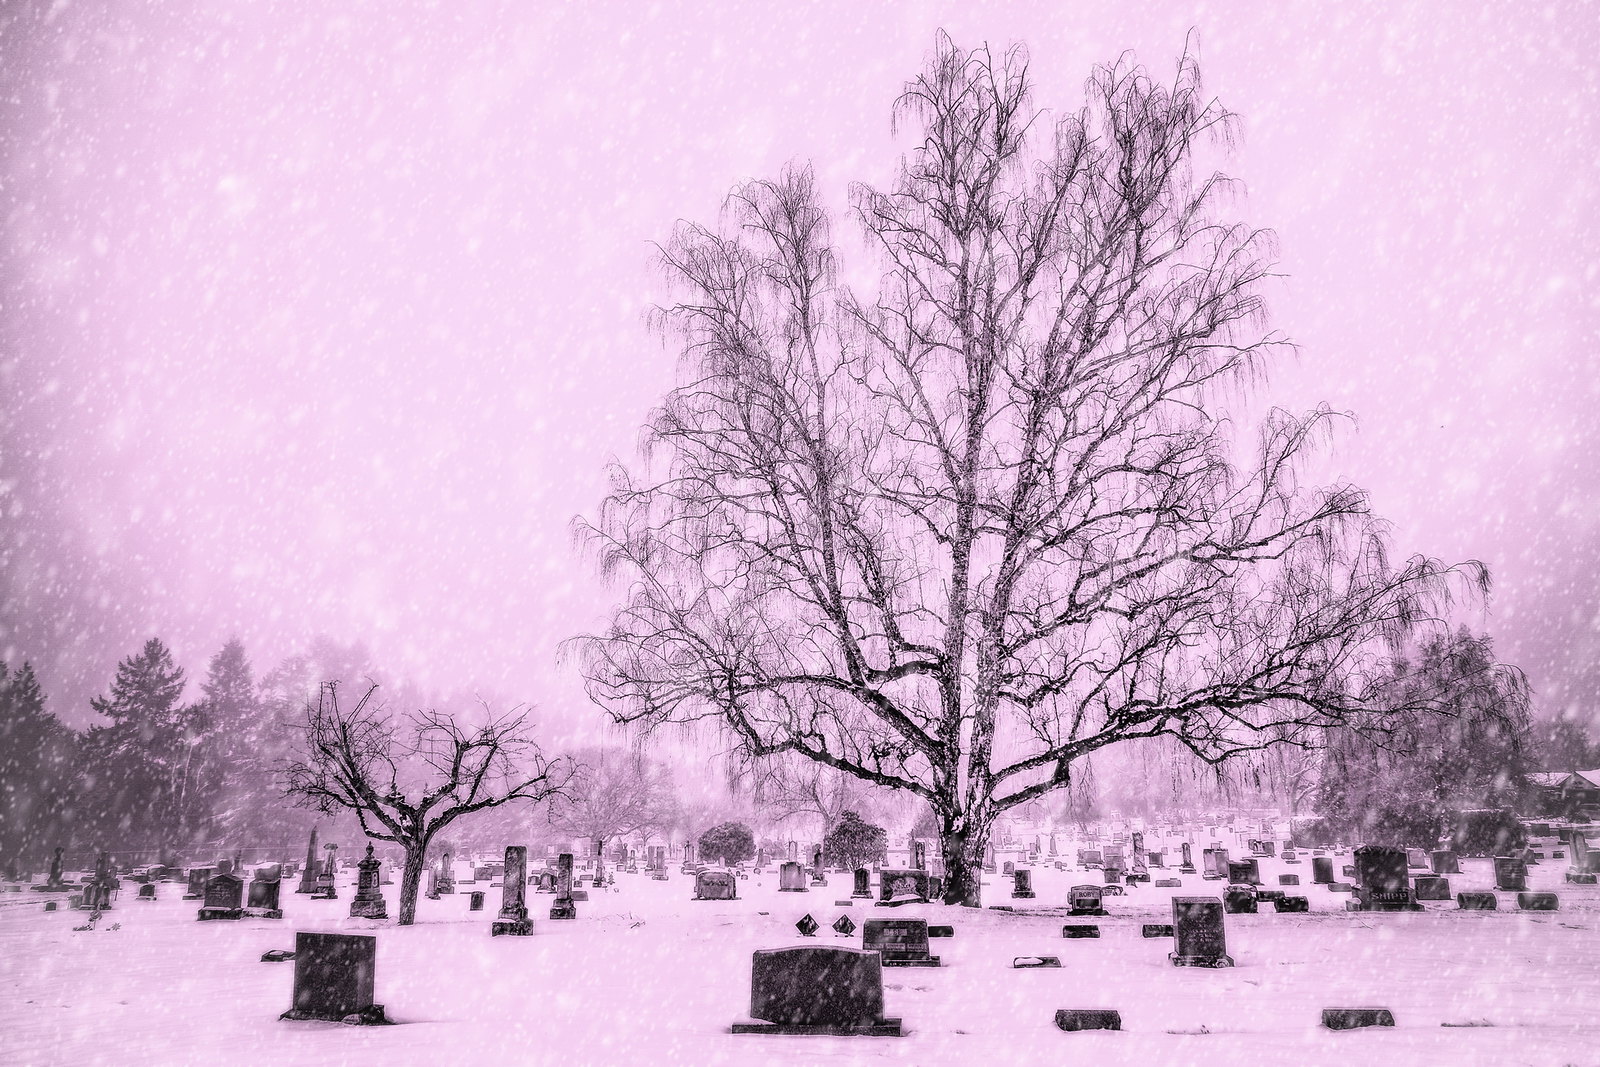
Then I give it often a quit hardt reatment. adjusting for hard HDR contrast, much more than I really want + I might add heavy vingeting.
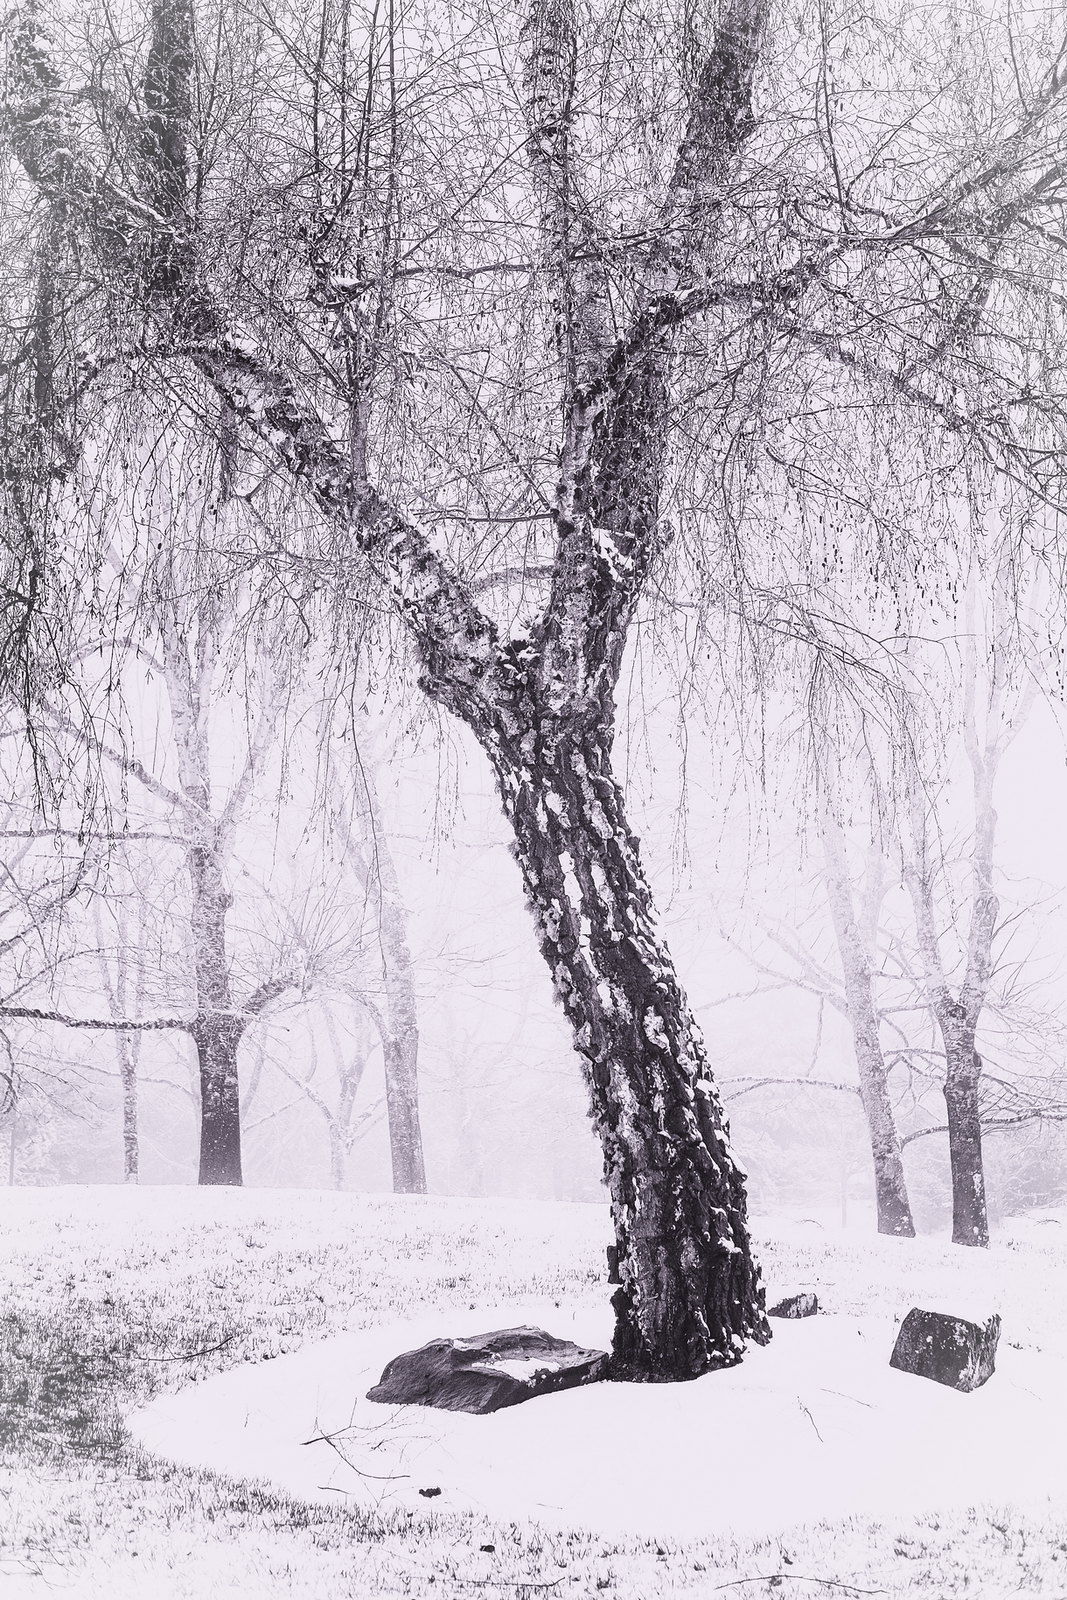
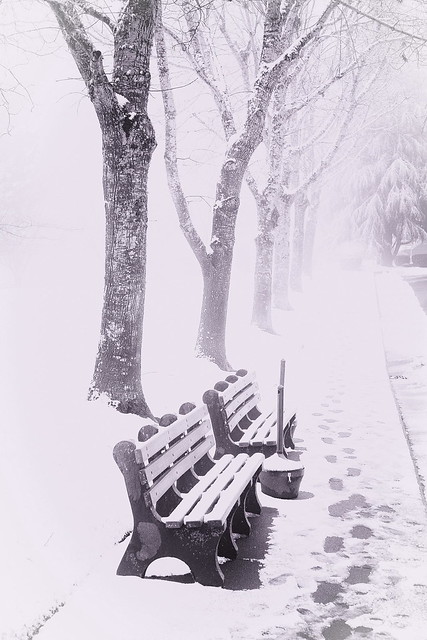
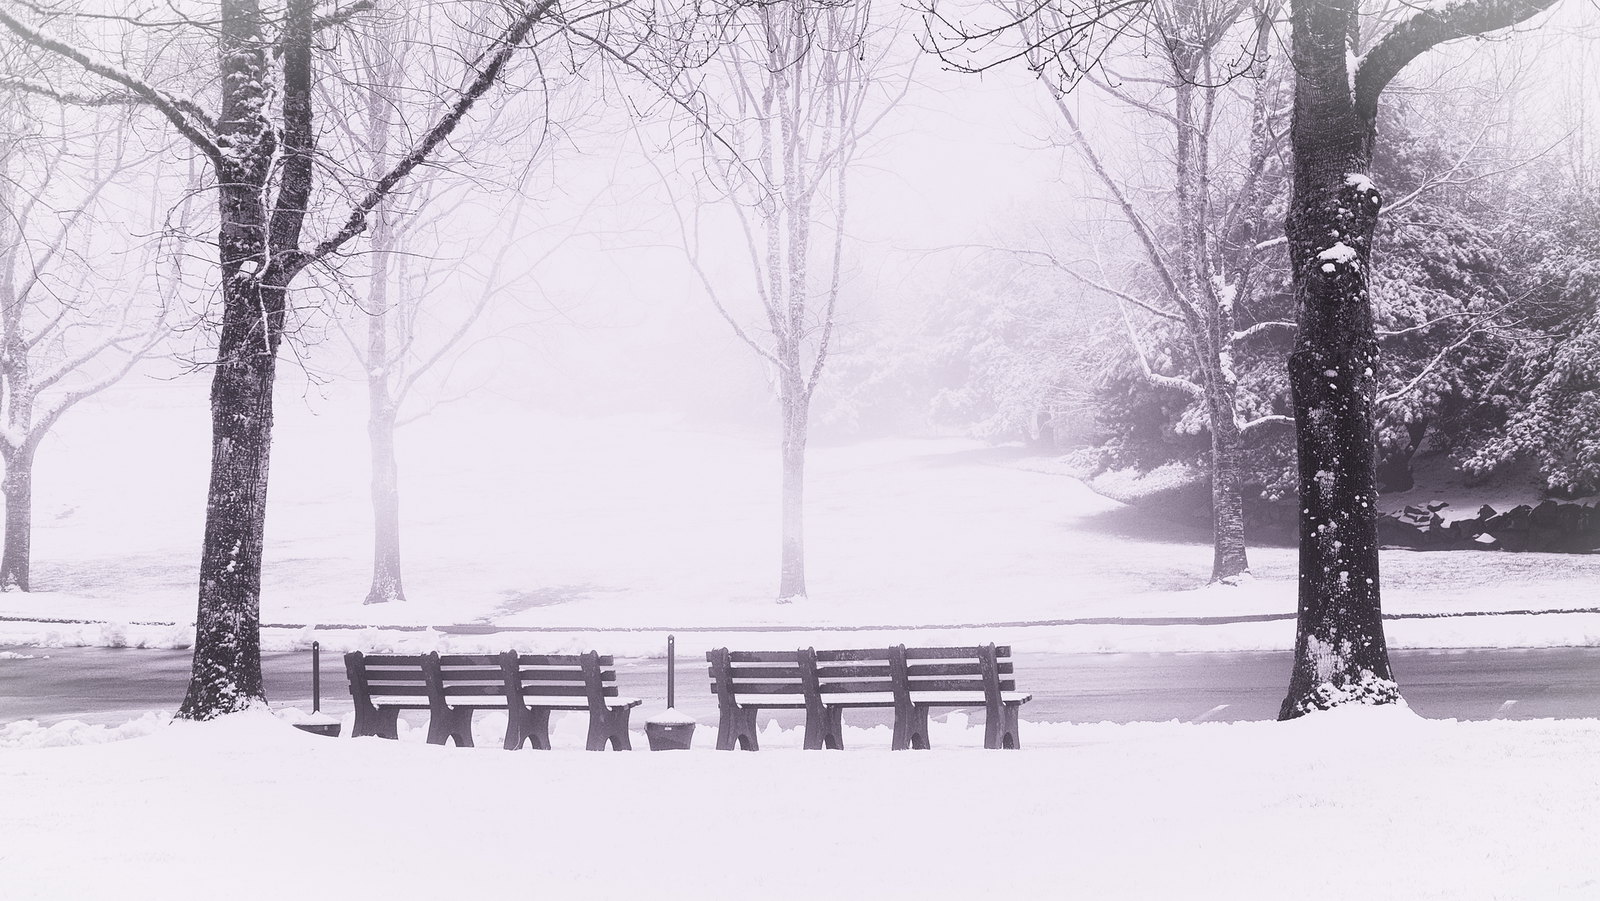
Next step might be to open remaining layer in Silver Efex Pro.
Here I also give it a hars treatment with lots of character. I often use Wet Rock. And might add burn edges, rather heavily.
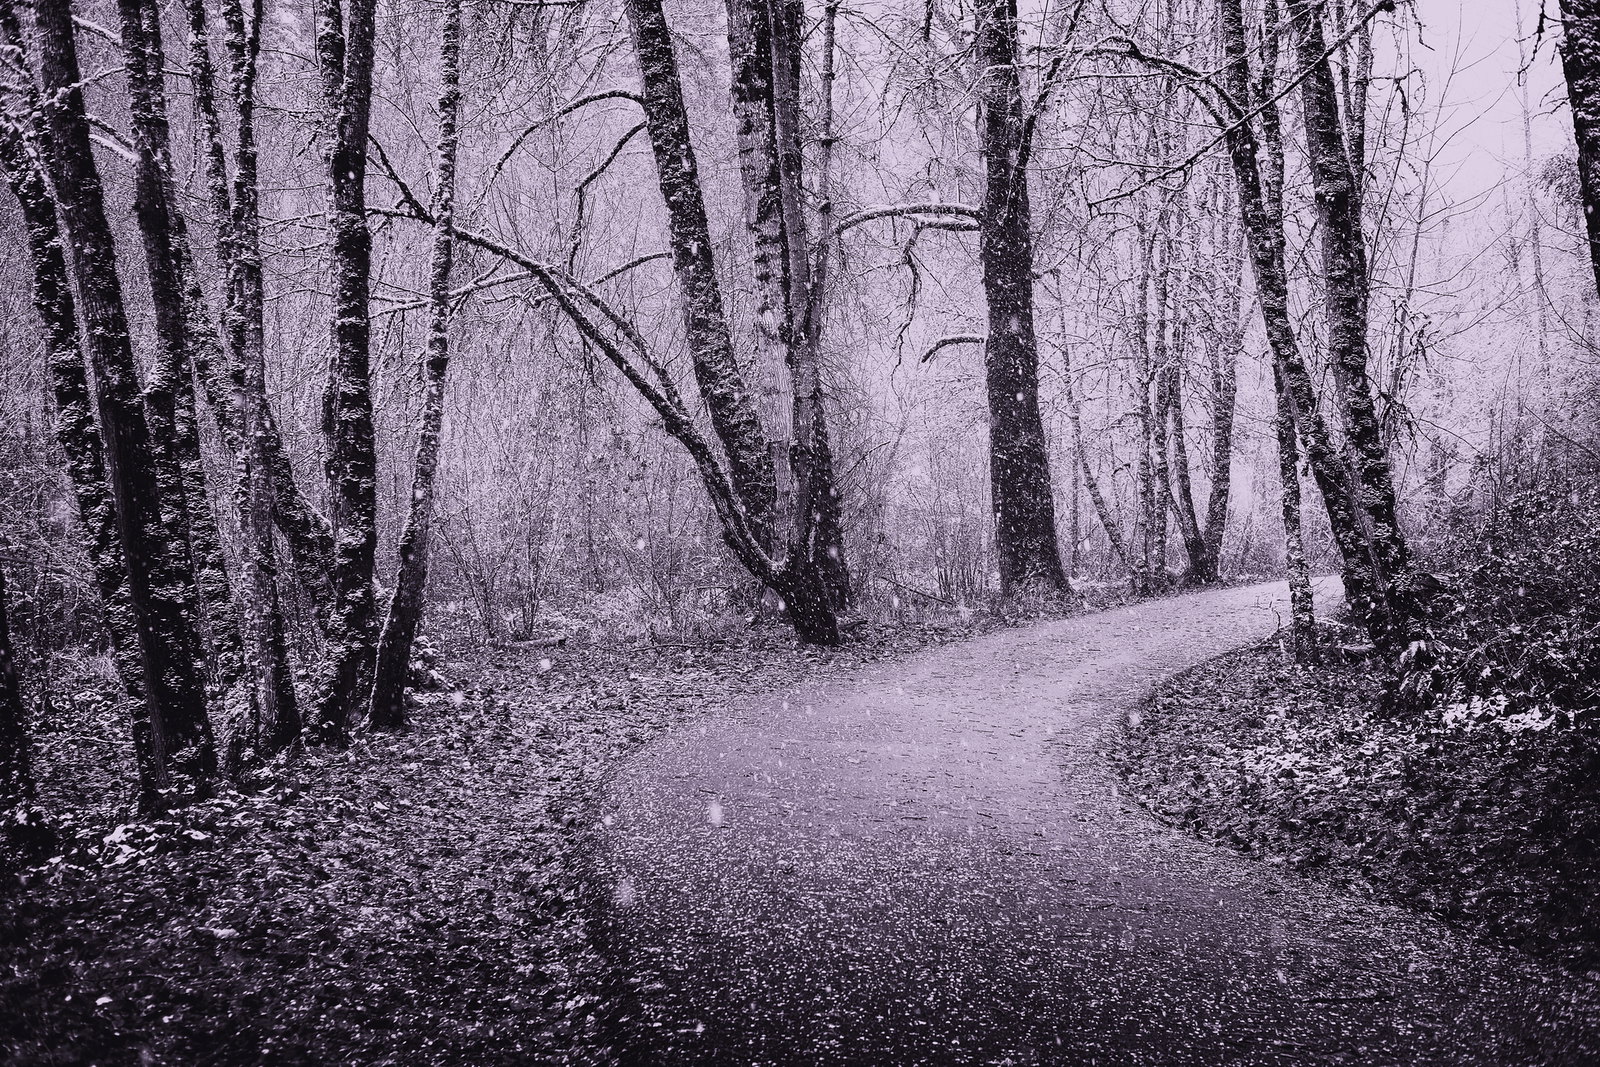
Back to PS
Now you put Silver efex on top of the layer stack and make it transparent by "poking it in the eye"
Then you adjust HDR to maybe 50% and then "unpoke the eye" of Silver.
Now come the artistic touch in to play!
Adjust the opacity of the Silver layer to taste!
Then adjust the opaciti of HDR- layer back and forth until it feels interesting.
Then back to adjust Silver layer.
Reapeat until you feel a proper level of nausea.
If the print is intended for Canvas, then I normally goes for a higher level of nausea.
Then you are don!
(But it is important that you work under the printing profile for your Canvas in PS.
Then you see directly on screen what you might expect to get from the printer.
If not you might be disappointed because the Canavs can normally not produce the gamut you have on your screen.
It will likely look much darker and more murky than you expected)
I have learned that it actually helps to resize a canvas picture to about 300P even if I am printing on Canvas.
Gives you a better level of sharpnes in small details.
For that I use ON1 Resize, works like charm!
And check it only in 50% zoom if you intend it for print.
That normaly give you a realistic feeling of how the print will look.
Only irritating thing is that the subtle layer of micro contrast get lost in the process to convert it to proper size for web and to Jpg.
But I use the Bicubic for smother transitions when rezoning.
If you use some sharpening here it often just looks over sharped and with heavy contrast.
Generaly I dont care much about following a rigorous recept.
But this is a common way for me to start with a Fuji Raw.
The ting is that I really have no ide where I will end upp when I get going in PP.
But the main thing is not to care about what others might think or even what you your self might think!
Wait until you feel that the trip is over, then you look at the result.
Works for me!
School over for today :toocool:
Ray