I like this shot Pete... nice sense of the wind motion and has a very painterly quality to it. I occasionally try this kind of thing myself and get mixed results.
The GetDPI Photography Forum
Great to see you here. Join our insightful photographic forum today and start tapping into a huge wealth of photographic knowledge. Completing our simple registration process will allow you to gain access to exclusive content, add your own topics and posts, share your work and connect with other members through your own private inbox! And don’t forget to say hi!
Fun with MF images - ARCHIVED - FOR VIEWING ONLY
- Thread starter Guy Mancuso
- Start date
- Status
- Not open for further replies.

Professional
Active member
Re: Fun with MF images - Part 3

Good luck :thumbup:
I have secret ways to shoot children or kids or young student, but it is working for me and not working for others"Very amateurish"... in the best possible way... as you have obviously won the confidence of the young lady...
I am working on winning the confidence of a few (hundred) of my wife's ballet, tap and gym students (no permission to post yet)
Good luck :thumbup:

Lloyd
Active member
I always enjoy your stuff. Another good one here. Is this with the 35?from the texas leica..
Did you buy the Leica?
mediumcool
Active member
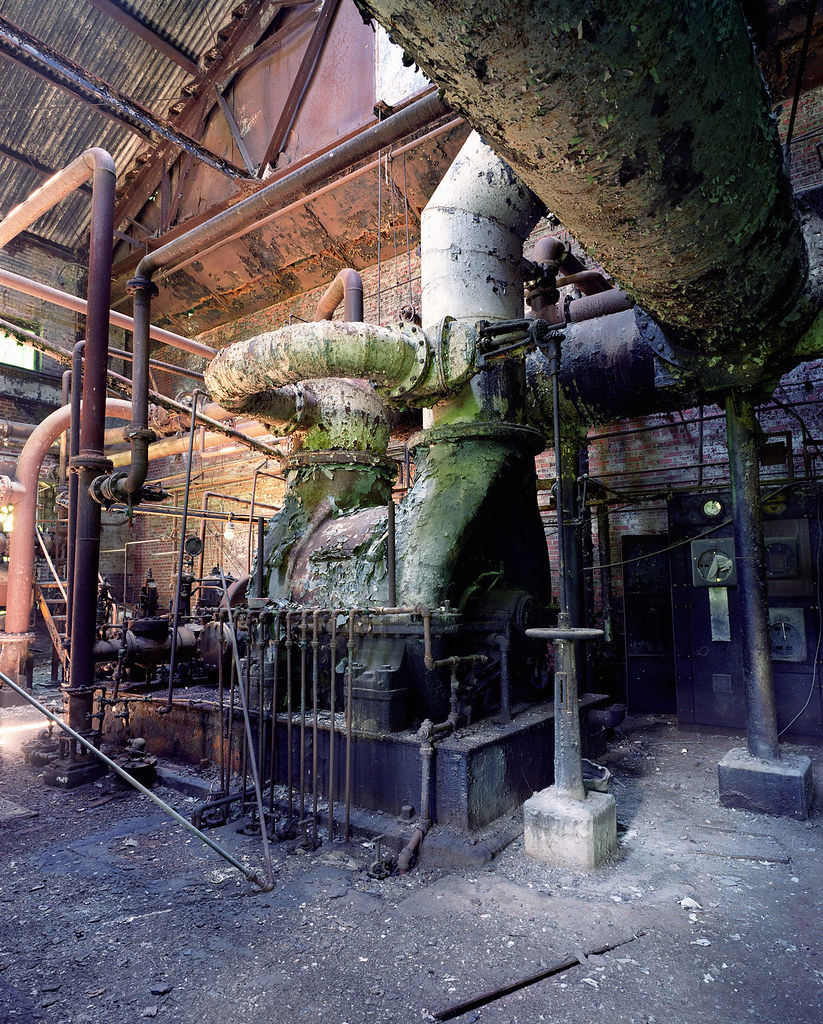
My first pic from my latest arrival, the 50mm Mamiya shift lens.

Hand-held last evening at 1/45 f8 (widest safe working aperture I hear) Mamiya 645AFD/Aptus 22 ISO 100. About 10mm rising front.
Still had to do a bit of perspective work in PS after converting in C1. And there’s some distortion still to remove.

!00% screenshot from PS of lower right.
Happy so far.
Hand-held last evening at 1/45 f8 (widest safe working aperture I hear) Mamiya 645AFD/Aptus 22 ISO 100. About 10mm rising front.
Still had to do a bit of perspective work in PS after converting in C1. And there’s some distortion still to remove.
!00% screenshot from PS of lower right.
Happy so far.
mediumcool
Active member
Note: was tired and emotional while doing this.
Will have another go at some stage ...
Will have another go at some stage ...
mediumcool
Active member
The 35mm lens arrived at the same time. Last night 1/180 f3.5 in the back yard (same info as house and dog shot). Processed in C1 with underexposure and vignetting.

Bokeh’s a bit wiry, but.
Bokeh’s a bit wiry, but.
PeterA
Well-known member
Hi David - Wind can be interesting fortunately we get a lot of it down here..this is a small crop of a panorama - maybe I shoudl find an old fred miranda frame making macro for posting stuff on web - then again...maybe not :ROTFL:
I am looking forward to finalising the new toy -
Pete
I am looking forward to finalising the new toy -
Pete
viablex1
Active member
oh man I wish, it was with the fuji gw690I always enjoy your stuff. Another good one here. Is this with the 35?
Did you buy the Leica?

Woody Campbell
Workshop Member
Blog post for January 12, 2011. Two views of the El Dorado (300 Central Park West) across the Central Park Reservoir. H4D-60 + HC 300 (two frames stitched) and + HCD 28.


Woody Campbell
Workshop Member
Here's the El Dorado converted to gray scale. I love the way the gray scale conversions come out with this back.
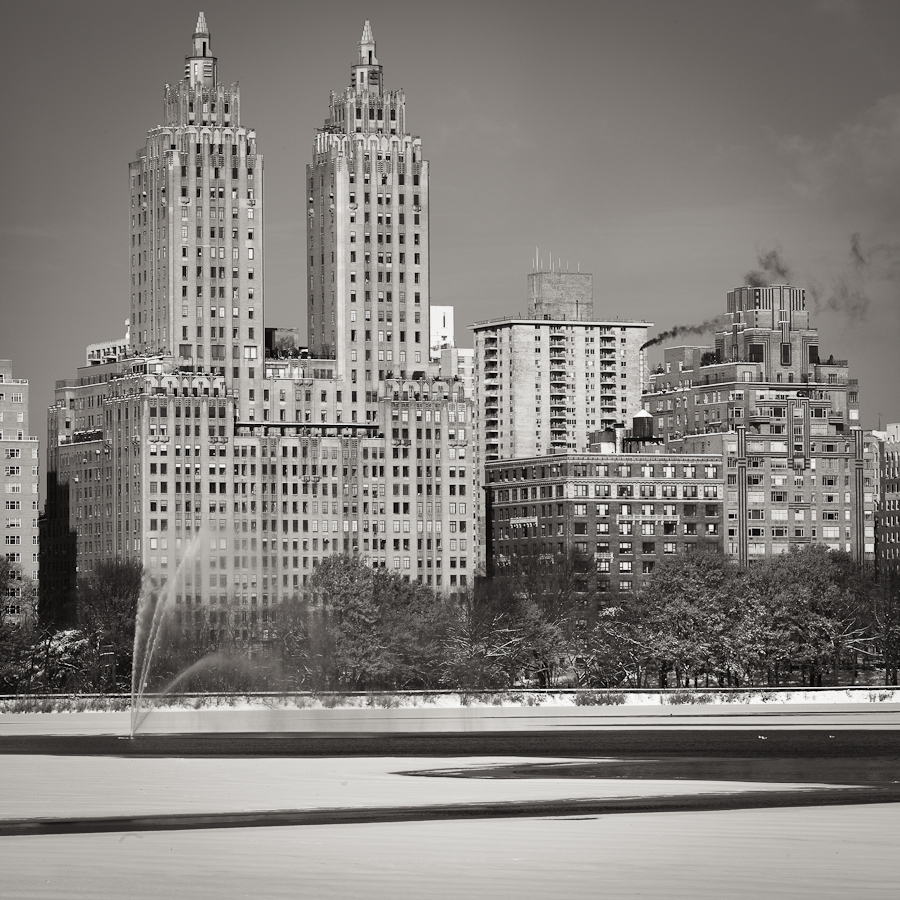
That looks very nice. What software did you convert it in? No other adjustments done, just the straight conversion?Here's the El Dorado converted to gray scale. I love the way the gray scale conversions come out with this back.
...
T
terroll
Guest
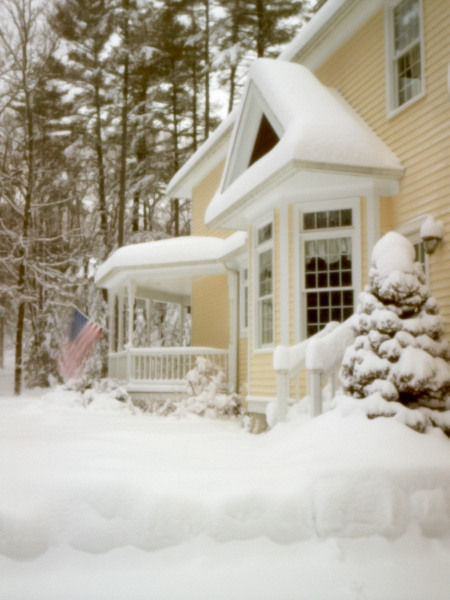
Emerald Lake Village, BC
Pentax 645d w/P645 FA35mm f3.5
Cold! -22C (-8F)
Pentax 645d w/P645 FA35mm f3.5
Cold! -22C (-8F)
Woody Campbell
Workshop Member
Grayscale work flow:That looks very nice. What software did you convert it in? No other adjustments done, just the straight conversion?
Export as color tiffs from Phocus using Phocus to produce good full scale histograms and appropriate sharpening and noise reduction (no noise reduction needed here); images imported to LR and stitched in PS; perspective correction in LR (very slight in this image); minor spotting in sky areas in LR; convert to grayscale in LR; in LR: add "shoulder" and "toe" to tone curve, use B&W mix sliders to simulate a yellow or "minus violet" filter (darken blues and lighten oranges and yellows), add post crop vignetting to simulate edge burning in a wet darkroom; restrained use of the adjustment brush in LR (simulating dodging and burning); apply split toning preset in LR; final touch up of exposure in the tone field in LR. Keys are to start with a good exposure, get it right in Phocus, avoid overuse of any of these manipulations, use the fill light and clarity sliders sparingly if at all and don't over sharpen. The whole process in LR takes a couple of minutes max.
Grayscale work flow:
Export as color tiffs from Phocus using Phocus to produce good full scale histograms and appropriate sharpening and noise reduction (no noise reduction needed here); images imported to LR and stitched in PS; perspective correction in LR (very slight in this image); minor spotting in sky areas in LR; convert to grayscale in LR; in LR: add "shoulder" and "toe" to tone curve, use B&W mix sliders to simulate a yellow or "minus violet" filter (darken blues and lighten oranges and yellows), add post crop vignetting to simulate edge burning in a wet darkroom; restrained use of the adjustment brush in LR (simulating dodging and burning); apply split toning preset in LR; final touch up of exposure in the tone field in LR. Keys are to start with a good exposure, get it right in Phocus, avoid overuse of any of these manipulations, use the fill light and clarity sliders sparingly if at all and don't over sharpen. The whole process in LR takes a couple of minutes max.
Thanks. It came out really nice.

Read this, 1/2 way through post #4: http://forum.getdpi.com/forum/showthread.php?t=54thanks jack, weather conditions like Moab!
btw, in loading from my gallery, to get a full size image i had to delete the "-thumb" suffix from the image address. ???
- Status
- Not open for further replies.