Bill Caulfeild-Browne
Well-known member
Re: Fun With Sony _____
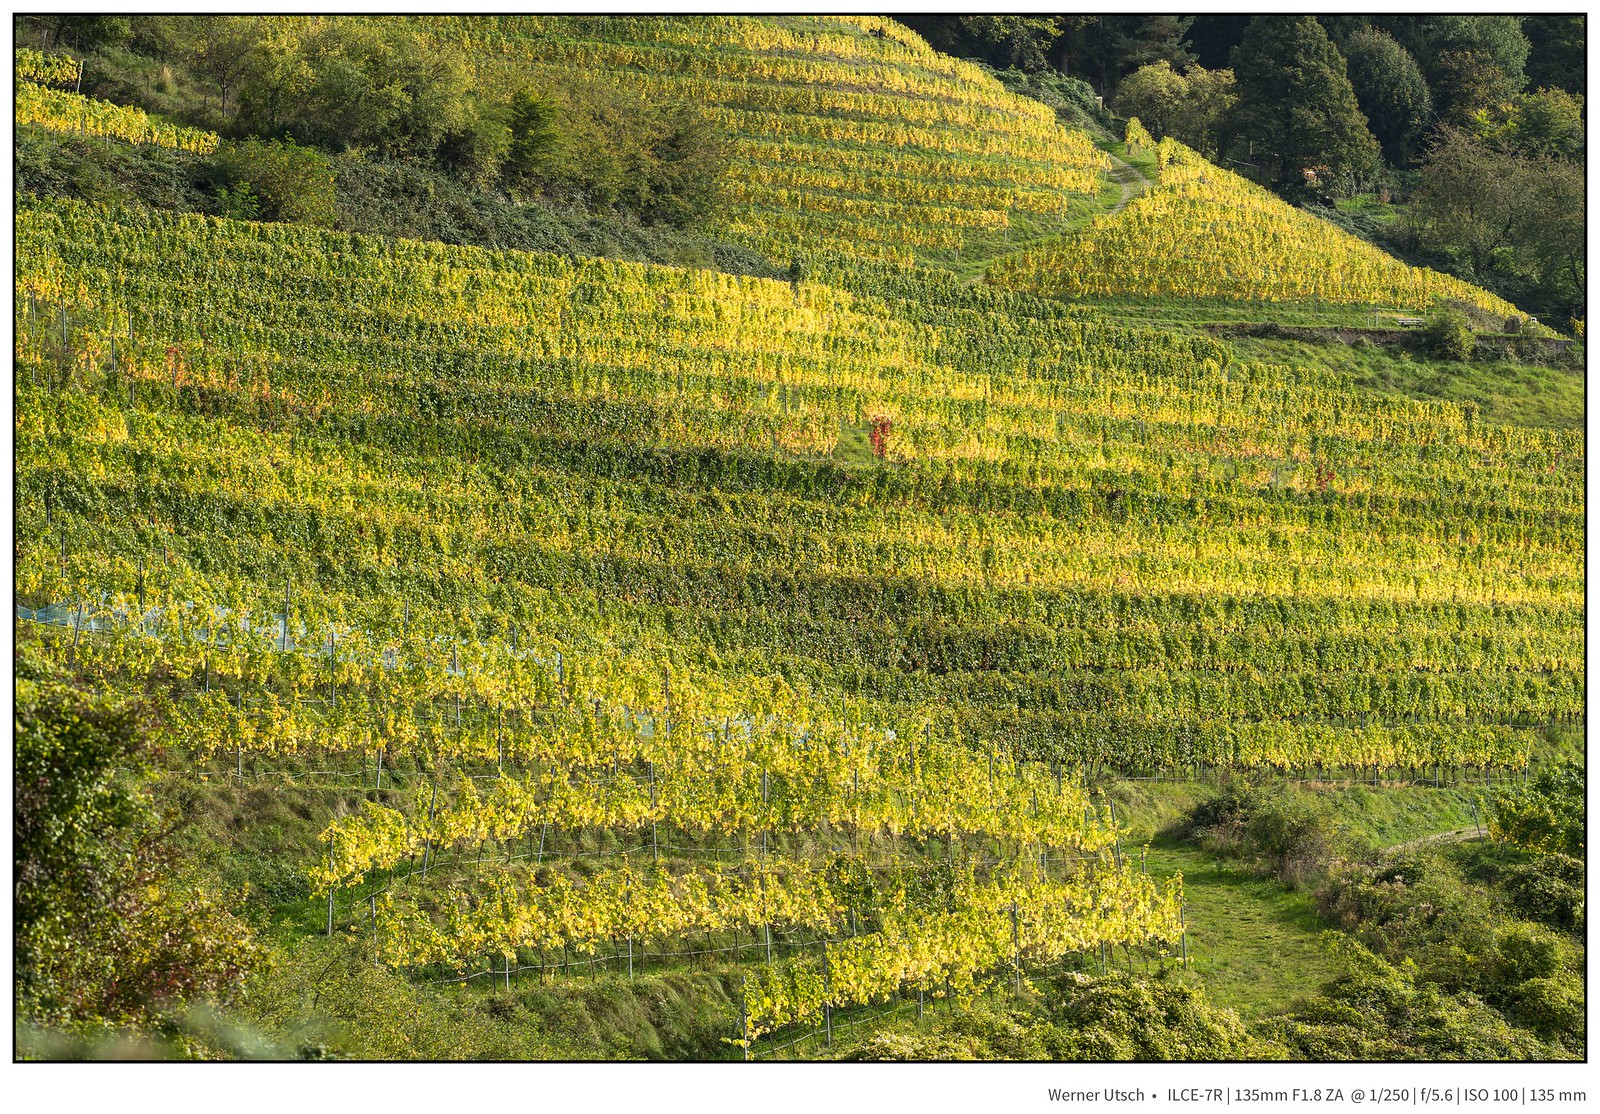
Under the pier, Kelsey Bay, BC. a99 70-400 G.

Under the pier, Kelsey Bay, BC. a99 70-400 G.
Great to see you here. Join our insightful photographic forum today and start tapping into a huge wealth of photographic knowledge. Completing our simple registration process will allow you to gain access to exclusive content, add your own topics and posts, share your work and connect with other members through your own private inbox! And don’t forget to say hi!
Bedankt!Merci beaucoup pour votre compliments!")

Barry, this is fabulous!
 ) elegant. I like the processing very much - did you post-process from Raw, or is that straight from the camera?

Many thanks tbhv55, glad you liked them both....You are correct it is Clevedon pier in Somerset, well spotted a beautiful pier for sure.@Barry,
Two first-rate shots of the pier - Clevedon, if I'm not mistaken?
The first (B&W) is superb - well seen!:thumbup: The second is simple and (as per the title...
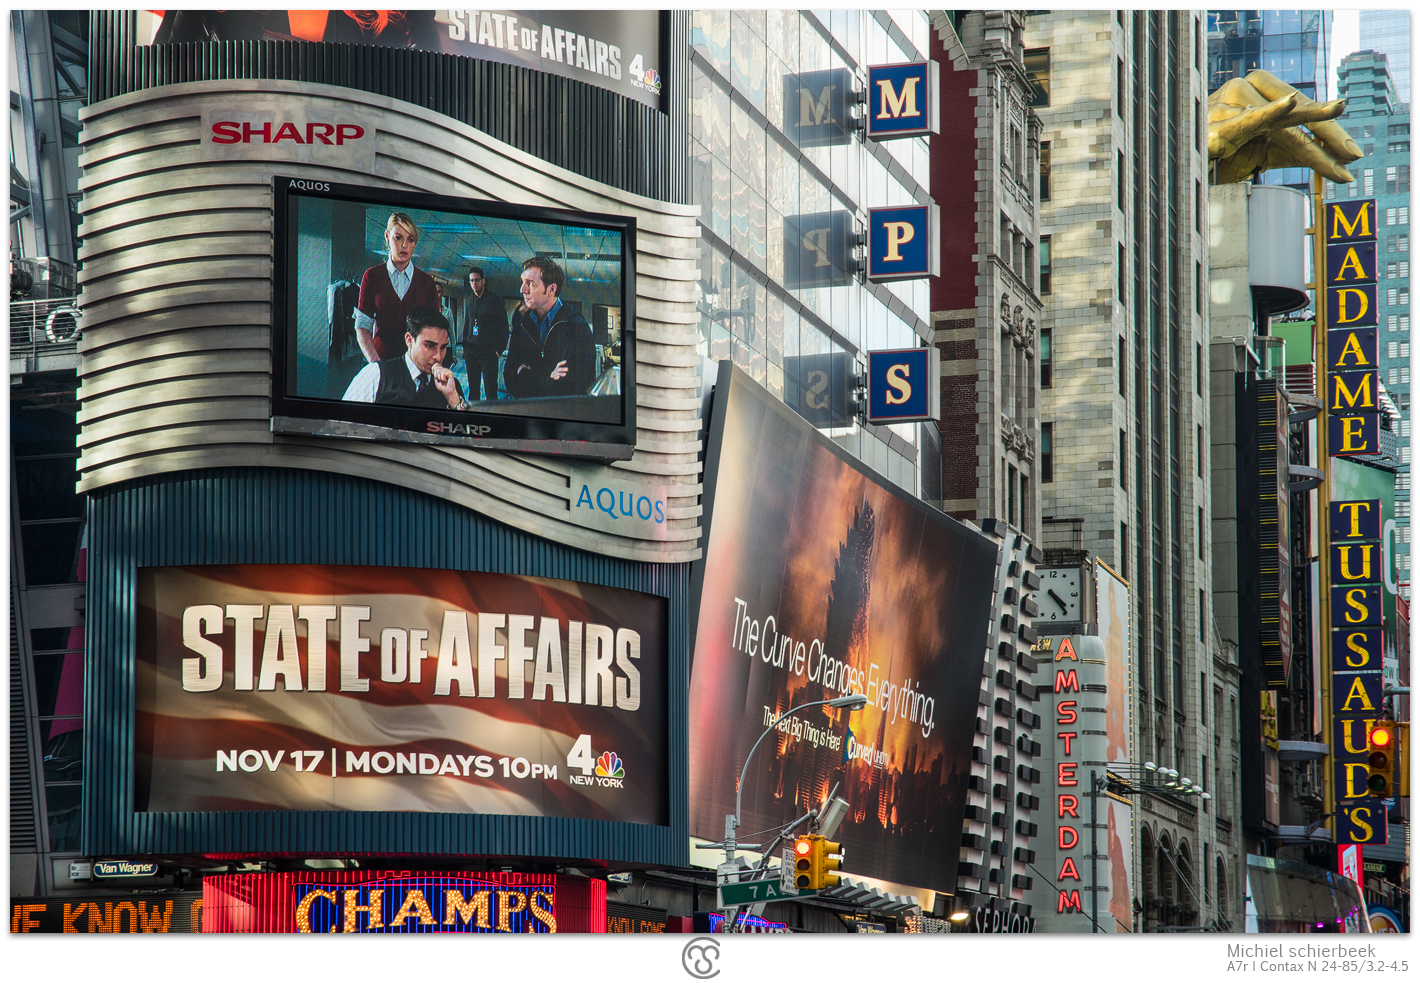
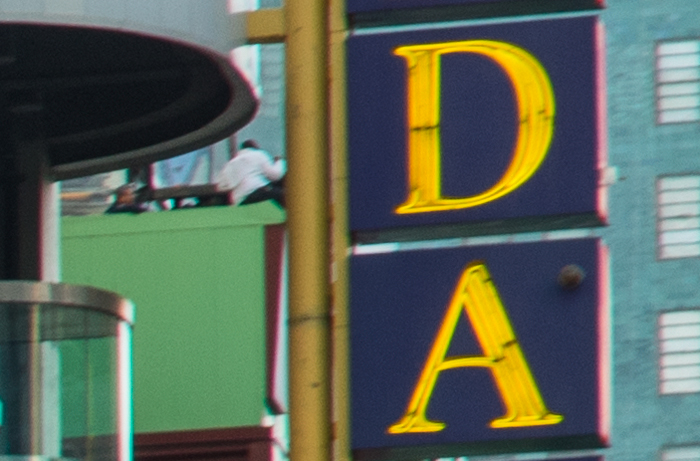
Michiel...The news story adds a whole new dimension to that image, thanks for sharing it with us all.About this picture, I posted before: At the time I took this picture a guy wanted to jump from the Madame Tussauds building. Police officers were talking him out of this bad idea.
On the detail you can see one of the police guys talking to him. An inflatable was already placed under the building in case of. He didn't jump and was brought to a hospital for mental care. This is what we red the same day in a newspaper laying around in the New York metro.

Michiel, I know exactly how you feel when shooting with SWA and WA lenses in this sort of situation.Silo city, Buffalo.
Abandoned Silos
I wish I had a TS lens for this kind of work
No way am I going to stitch 16mm images together :scry: