V
Vivek
Guest
Re: Fun with the Sony A7 Series Cameras( all of them)
Andy (Admin) is looking for one.
Andy (Admin) is looking for one.
Great to see you here. Join our insightful photographic forum today and start tapping into a huge wealth of photographic knowledge. Completing our simple registration process will allow you to gain access to exclusive content, add your own topics and posts, share your work and connect with other members through your own private inbox! And don’t forget to say hi!
Barry, I've admired your photos of historical sites and especially like this series. Thanks for sharing both the images and the history.Colour blended with a split toned image in NIK SE2 (BLENCOMO)
a7 + FE90 @ f11, iso-200, 1/200

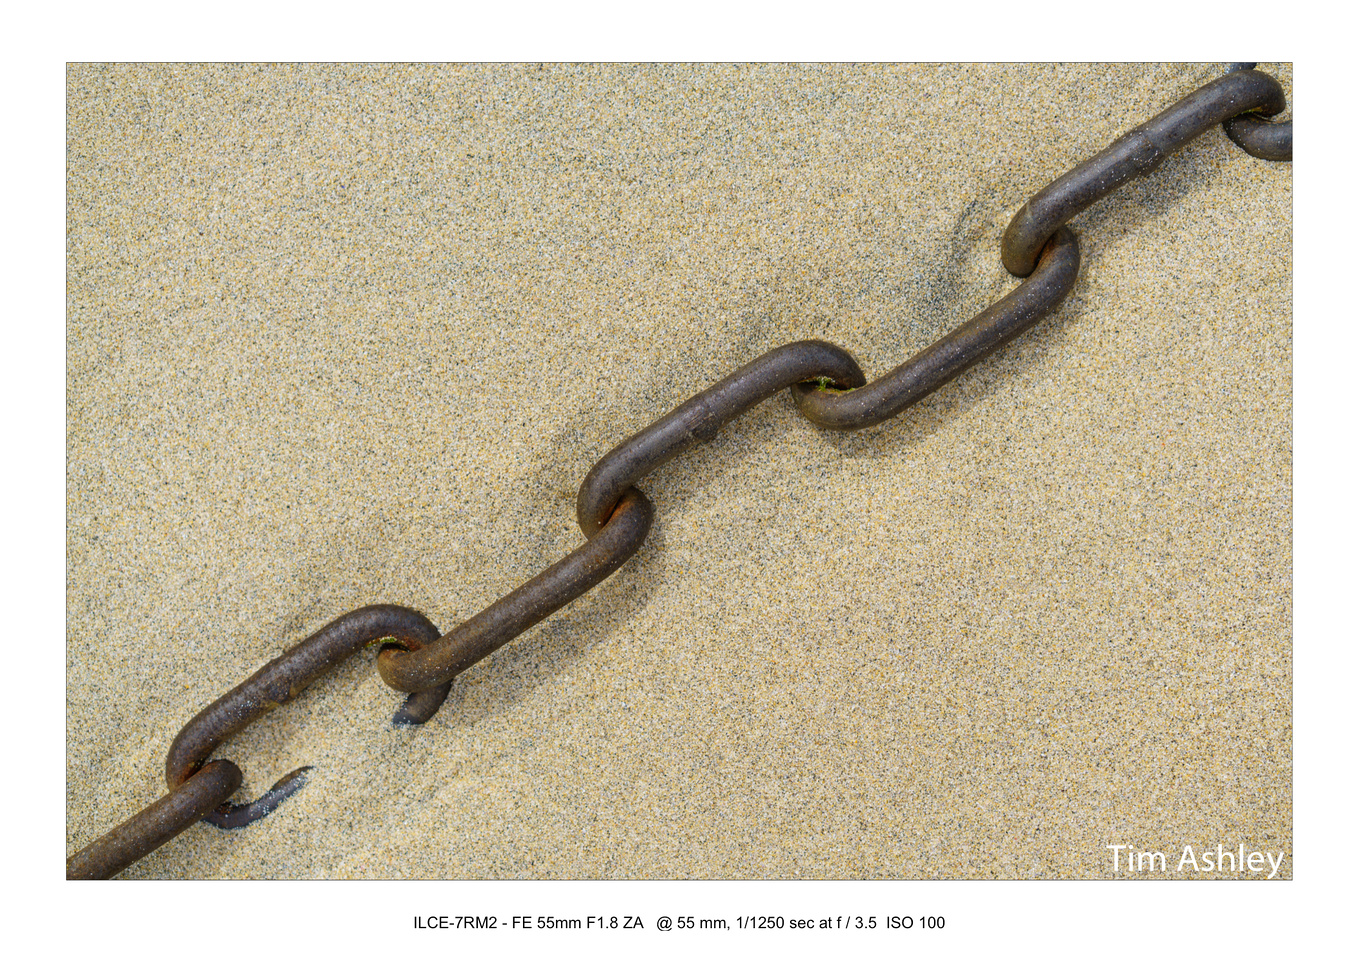
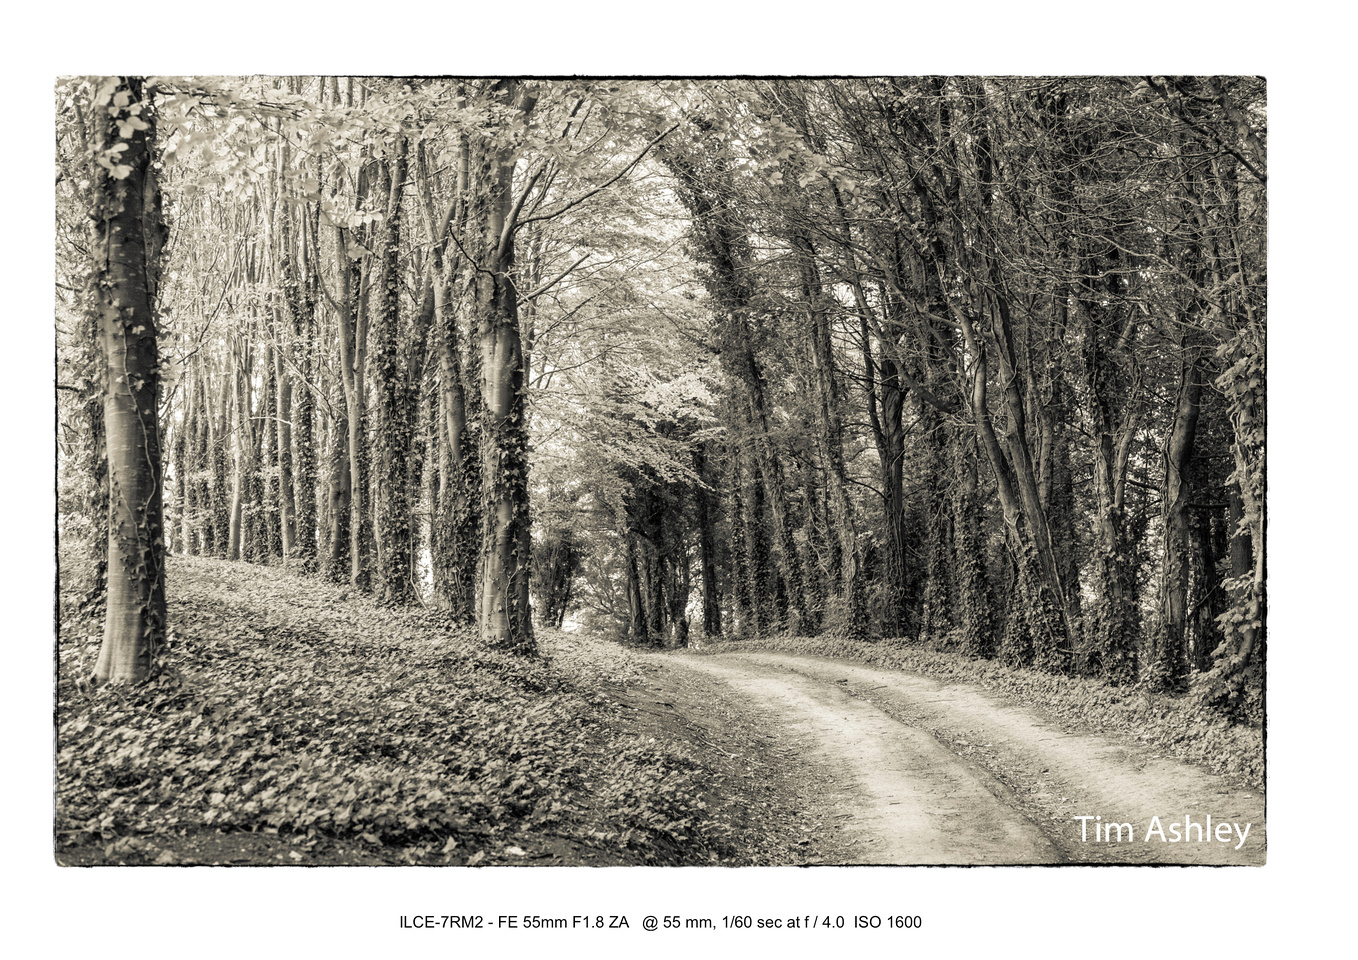
Lovely composition and toning, Tim. Plus, the FE-55 is just stupid good. When I was shooting the A7R, that's the one lens that never failed to put a smile on my face.Been photographing this little track for years now on my daily dog walk. This is my fave so far.
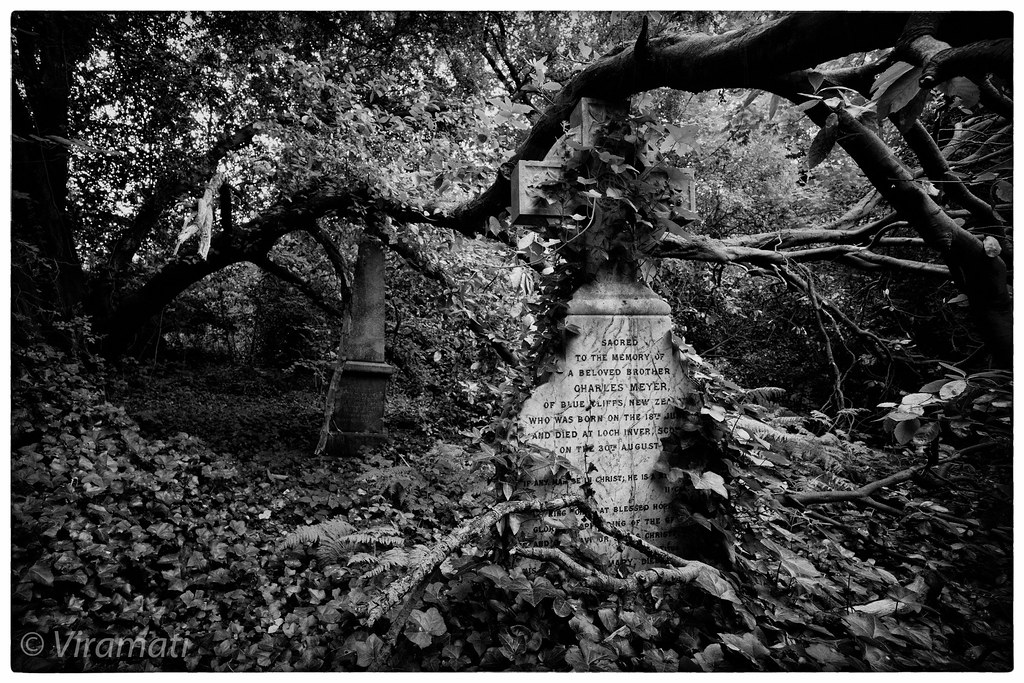
Thank you so much Joe, that's very kind of youBarry, I've admired your photos of historical sites and especially like this series. Thanks for sharing both the images and the history.
Can you point me to a description of your BLENCOMO process? I know I've seen it described somewhere in this thread, now 118 pages long. :bugeyes:
Joe
 + Likewise another thanks to you for your mogrify/2 tutorials (Framing etc...) on your website, they became very helpful to me for when I first started playing around with the script.
Thanks very much, Barry. I'll give it a try. Stay tuned. :salute:Thank you so much Joe, that's very kind of you
I will put both the tone mapping process that I still currently use here and also the BLENCOMO (BLENded COlour with MOnochrome) treatment, although my workflow has changed since writing this earlier.
<snip>
Hope that gives you some insight to my typical workflow....Cheers Barry
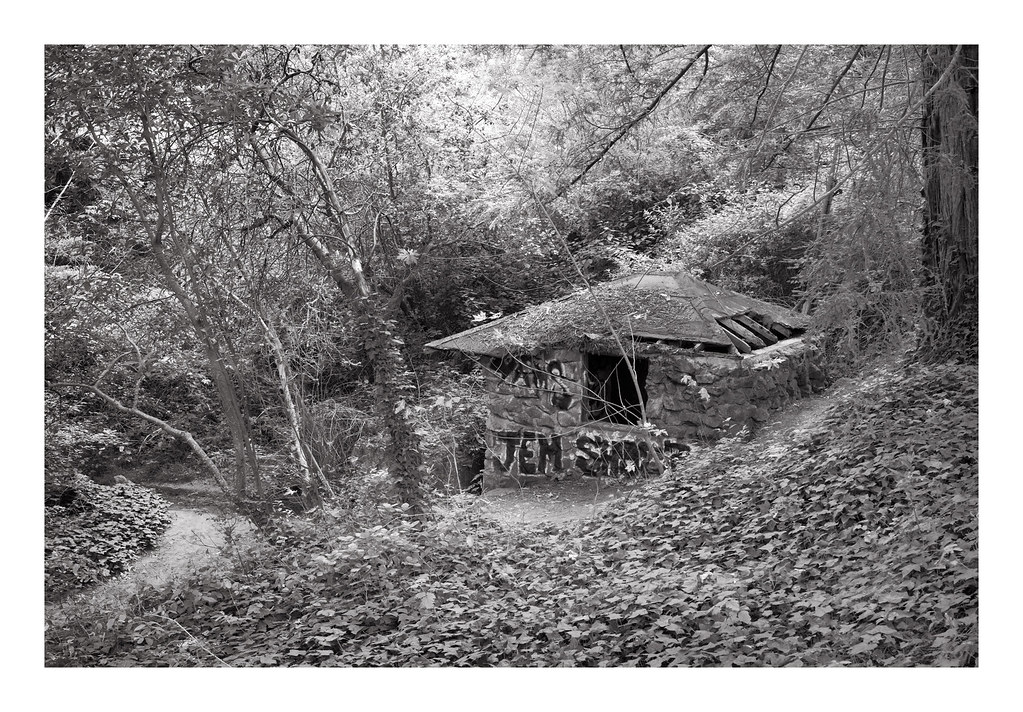 Old pump house, Tilden, Berkeley by Kirk Thompson, on Flickr
 Wondering if my 'BW phase' is terminating.... by Kirk Thompson, on Flickr
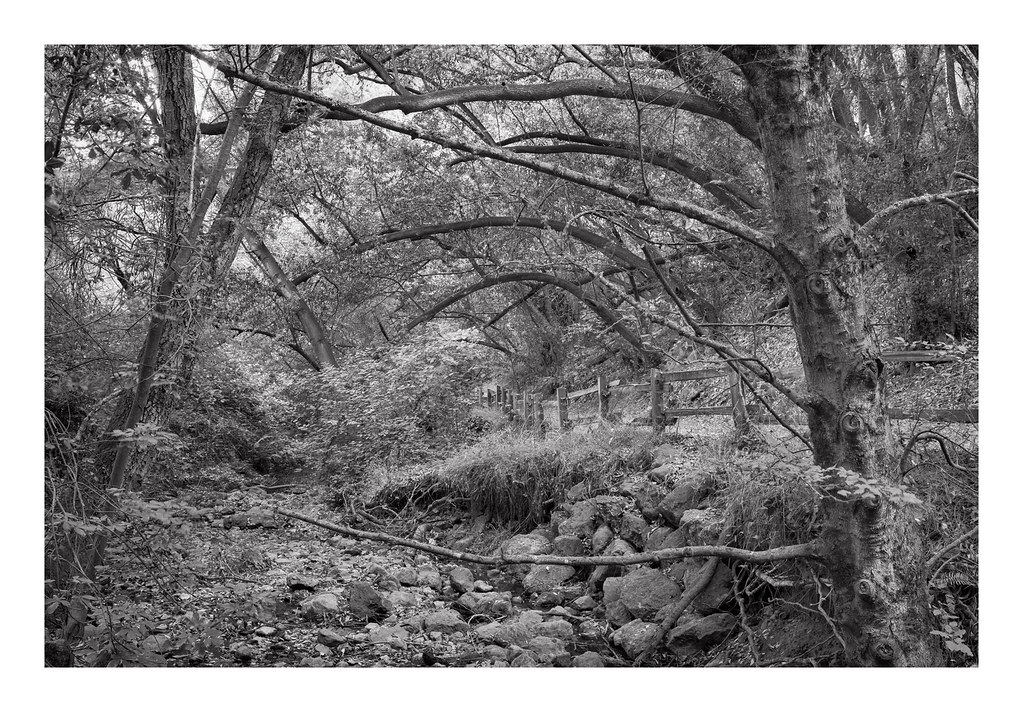 Wildcat Creek and fence (BW) by Kirk Thompson, on Flickr
 Wildcat Creek and fence (Col) by Kirk Thompson, on Flickr
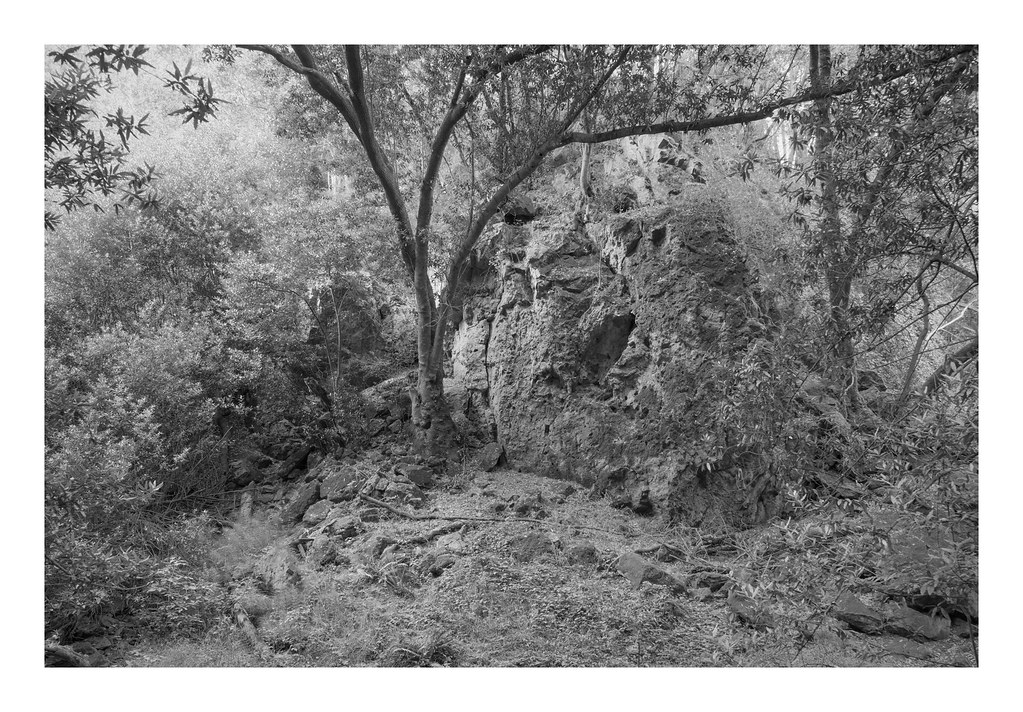 Rock with cave, Wildcat Creek (BW) by Kirk Thompson, on Flickr
 Rock with cave, Wildcat Creek (Col) by Kirk Thompson, on Flickr