The GetDPI Photography Forum

Great to see you here. Join our insightful photographic forum today and start tapping into a huge wealth of photographic knowledge. Completing our simple registration process will allow you to gain access to exclusive content, add your own topics and posts, share your work and connect with other members through your own private inbox! And don’t forget to say hi!

DIY projects

daz7

Active member
I am sure that most of us have some DIY projects completed, on-going or planned. From simple adjustments and workarounds to advanced builds, let's share our ideas in this thread!

Here is my current simple project that I had in mind for a couple of months but have only just recently completed: a slimmed down version of a Sinar P3 for outdoor projects.
There used to be a SInar C2 that was basically a hybrid of their P2 rear standard and F2 front.
Here, I've made a Do It Yourself F3 look-alike front standard and by adding a P3 rear bearer I would have a "C3" model that never came to life.
I've used for that an F2 sinar front standard, drilled a couple of additional holes, tapped them, then used a Sinar P3 frame taken off a front P3 standard to screw it on top.
The result is a DIY Sinar F3 front standard that weights about 1kg less compared to a vanilla P3 and is quite portable.
It pairs up quite nicely with a rear P3 or P2 standard for precision movements and some freedom of front tilts and swings at a lower weight.
Of course one could just buy a Sinar F3 but it seems that those are rarer than hen's teeth - I have never seen a used one for sale and the brand new ones are available at obscene prices only.

Here are some photos:

1. A sinar F2 frame taken apart:
1.jpg
2. Holes drilled:
2.jpg
3. A sinar P3 frame screwed on:
3.jpg
4. An F2 front standard prepared to slide a modified frame in:
4.jpg
5. All done - great success! :)
5.jpg
 
Last edited:

P. Chong

Well-known member
very interesting project. one which I wish I am handy enough to be able to attempt, but alas probably not. 😅

could you show the completed camera?

I am sure that most of us have some DIY projects completed, on-going or planned. From simple adjustments and workarounds to advanced builds, let's share our ideas in this thread!

Here is my current simple project that I had in mind for a couple of months but have only just recently completed: a slimmed down version of a Sinar P3 for outdoor projects.
There used to be a SInar C2 that was basically a hybrid of their P2 rear standard and F2 front.
Here, I've made a Do It Yourself F3 look-alike front standard and by adding a P3 rear bearer I would have a "C3" model that never came to life.
I've used for that an F2 sinar front standard, drilled a couple of additional holes, tapped them, then used a Sinar P3 frame taken off a front P3 standard to screw it on top.
The result is a DIY Sinar F3 front standard that weights about 1kg less compared to a vanilla P3 and is quite portable.
It pairs up quite nicely with a rear P3 or P2 standard for precision movements and some freedom of front tilts and swings at a lower weight.
Of course one could just buy a Sinar F3 but it seems that those are rarer than hen's teeth - I have never seen a used one for sale and the brand new ones are available at obscene prices only.

Here are some photos:

1. A sinar F2 frame taken apart:
View attachment 210170
2. Holes drilled:
View attachment 210171
3. A sinar P3 frame screwed on:
View attachment 210172
4. An F2 front standard prepared to slide a modified frame in:
View attachment 210173
5. All done - great success! :)
View attachment 210174
 

KlausJH

Well-known member
To keep this thread alive, here is my digital XPan camera project I have recently finished.
I had some leftover parts from a past project, padouk wood, a Hasselblad V to Graflok shift adapter and a dealer had a Schneider Super-Angulon 65mm f/5.6 MC in a very good condition to a very good price.
The idea was born to build a digital panorama camera using my CFV II 50C as a back.
The main goals: keep cost, weight and size low, cover the ratios 1:3 (6x17), 24x65 (Xpan) and 2:1. And most of all: have fun!
Shift could be +/- 28mm and tilt -10°
At fist the wooden frame was built from padouk wood, it became a shellac finish.

Dixpan1 by Klaus Hornig, auf Flickr

Next step was to get a helicoid adapter and a lens board and to build the tilt mechanism.

Dixpan2 by Klaus Hornig, auf Flickr

Then the shift adapter had to fit on the back side.

Dixpan3 by Klaus Hornig, auf Flickr

This is the final camera from the front. Mounted is a cable release, a light meter and the optical viewfinder from the 907X.
The 30mm grid lines show nearly the angle of view when the back is shifted to +/-20mm covering 84mm horizontally.
But I'm not really happy with the viewfinder but could not find an old one from a 6x17 film camera yet.

Dixpan4 by Klaus Hornig, auf Flickr

View from the back

Dixpan5 by Klaus Hornig, auf Flickr

It all works very well. I can achieve a format of 33x100mm (ration 1:3) resulting in a 114 Mpx file requiring three frames.
For 24x65 (Xpan) only two frames are needed. Such a file has 92 Mpx.
The Super-Angulon shows a magenta color cast when shifted to the extreme. This can be eliminated with scene calibration in Phocus.
This was my winter project. The total cost (excluding the back) was only 750€/$800.
It fits nicely in my LowePro AW200 with the 907X, two XCD lenses and my Q2.

Finally here is first image I took:

Digital XPan Panorama by Klaus Hornig, auf Flickr
 

PeterA

Well-known member
To keep this thread alive, here is my digital XPan camera project I have recently finished.
I had some leftover parts from a past project, padouk wood, a Hasselblad V to Graflok shift adapter and a dealer had a Schneider Super-Angulon 65mm f/5.6 MC in a very good condition to a very good price.
The idea was born to build a digital panorama camera using my CFV II 50C as a back.
The main goals: keep cost, weight and size low, cover the ratios 1:3 (6x17), 24x65 (Xpan) and 2:1. And most of all: have fun!
Shift could be +/- 28mm and tilt -10°
At fist the wooden frame was built from padouk wood, it became a shellac finish.

Dixpan1 by Klaus Hornig, auf Flickr

Next step was to get a helicoid adapter and a lens board and to build the tilt mechanism.

Dixpan2 by Klaus Hornig, auf Flickr

Then the shift adapter had to fit on the back side.

Dixpan3 by Klaus Hornig, auf Flickr

This is the final camera from the front. Mounted is a cable release, a light meter and the optical viewfinder from the 907X.
The 30mm grid lines show nearly the angle of view when the back is shifted to +/-20mm covering 84mm horizontally.
But I'm not really happy with the viewfinder but could not find an old one from a 6x17 film camera yet.

Dixpan4 by Klaus Hornig, auf Flickr

View from the back

Dixpan5 by Klaus Hornig, auf Flickr

It all works very well. I can achieve a format of 33x100mm (ration 1:3) resulting in a 114 Mpx file requiring three frames.
For 24x65 (Xpan) only two frames are needed. Such a file has 92 Mpx.
The Super-Angulon shows a magenta color cast when shifted to the extreme. This can be eliminated with scene calibration in Phocus.
This was my winter project. The total cost (excluding the back) was only 750€/$800.
It fits nicely in my LowePro AW200 with the 907X, two XCD lenses and my Q2.

Finally here is first image I took:

Digital XPan Panorama by Klaus Hornig, auf Flickr
Absolutely awesome stuff- well done and thanks for posting.
Cheers
Pete
 

KlausJH

Well-known member
The lens board has a hinge at the bottom. At the top it sits between the knob of a screw and a retaining ring. The screw goes into a joint. See the pictures. That was quite easy. A bit of a challenge was to avoid light leaks. Therefore the inside got taped with a photo tape, that is an adhesive tape with a thin layer of black foam especially made for the use in photographic equipment.

IMG_5514.jpeg
IMG_5483.jpeg
 

Focusrite

Member
To keep this thread alive, here is my digital XPan camera project I have recently finished.
Very cool! I've pondered whether a hybrid 6:17 film/digital camera could be viable, but the amount of shifting needed to cover even close to the full film size with a digital back would be rather impractical for a host of reasons: your project is a great practical solution!

Next step was to get a helicoid adapter and a lens board and to build the tilt mechanism.
This is something I'm very curious about. I'm looking into helicoids at the moment for a future project of my own, and your experience would be helpful. The helicoid looks like the ones that are readily available on eBay; how have you found it in use? Is there much/any play or wobble when it's extended? And what size is it? The 12-17mm M52 model or longer/bigger?

I might be mounting a few different lenses in helicoids; including a Rodenstock Grandagon 65mm. The rear element is a touch larger in diameter and length than the Schneider SA from the data I've found ( rear element dia. is 51mm vs 50mm, etc. . . . ), so I'm concerned about whether the rear element would foul on the inside of the helicoid ( especially if it were extended - I expect the internal diameter of the M52 ones would be around 48mm ). Might need to go with the M58 instead . . . .
 

KlausJH

Well-known member
The helicoid adapter I have used is the:
M65 to M65 25mm-55mm Adjustable Focusing Helicoid Adapter 25-55mm. Made in China. I was very skeptical at first about the quality for such a low price ($35), but I became pleasantly surprised, it is smooth, well damped and from good quality.
The 58mm adapter would definitely be too small.
The 65mm adapter has an internal diameter of 61mm. The Super-Angulon 65mm has 57mm ø, Grandogons are 60mm ø. So they should just fit.
The 65mm thread of the adapter gave me some head aches. I had to cut the lens board to make it fit.
There is also a 17-35 on the way to me, this is needed to adapt a 47mm or 55mm lens.
Good luck with your project.
 

Focusrite

Member
The helicoid adapter I have used is the:
M65 to M65 25mm-55mm Adjustable Focusing Helicoid Adapter 25-55mm. Made in China. I was very skeptical at first about the quality for such a low price ($35), but I became pleasantly surprised, it is smooth, well damped and from good quality.
The 58mm adapter would definitely be too small.
The 65mm adapter has an internal diameter of 61mm. The Super-Angulon 65mm has 57mm ø, Grandogons are 60mm ø. So they should just fit.
The 65mm thread of the adapter gave me some head aches. I had to cut the lens board to make it fit.
There is also a 17-35 on the way to me, this is needed to adapt a 47mm or 55mm lens.
Good luck with your project.
Thanks for the info! Good to hear that those helicoids are satisfactory.
 

buildbot

Well-known member
The helicoid adapter I have used is the:
M65 to M65 25mm-55mm Adjustable Focusing Helicoid Adapter 25-55mm. Made in China. I was very skeptical at first about the quality for such a low price ($35), but I became pleasantly surprised, it is smooth, well damped and from good quality.
The 58mm adapter would definitely be too small.
The 65mm adapter has an internal diameter of 61mm. The Super-Angulon 65mm has 57mm ø, Grandogons are 60mm ø. So they should just fit.
The 65mm thread of the adapter gave me some head aches. I had to cut the lens board to make it fit.
There is also a 17-35 on the way to me, this is needed to adapt a 47mm or 55mm lens.
Good luck with your project.
Thanks for the info! Good to hear that those helicoids are satisfactory.
I have the same m65 helicoids, and yeah they are pretty well damped and the price is great, however I am not a big fan of the amount of grease they used on my - it got everywhere! And the internal reflections are not that well controlled in my opinion. I keep thinking on how to design one like the Arca-Swiss R mount, but have not yet figured that out...
 

KlausJH

Well-known member
I have the same m65 helicoids, and yeah they are pretty well damped and the price is great, however I am not a big fan of the amount of grease they used on my - it got everywhere! And the internal reflections are not that well controlled in my opinion. I keep thinking on how to design one like the Arca-Swiss R mount, but have not yet figured that out...
So far I haven't experienced a crease problem, keep my fingers crossed. Internal reflections are a non issue with LF lenses where the lens barrel sits inside the adapter. I don't have the tools for designing and building a helicoid, that's a bit too far for me.
 

diggles

Well-known member
Here is another example of using the DIY adapters from eBay. In the 'bang for your buck' thread I posted an image of how I am using the Nikon M 200mm on the Rm3di. While I was happy that I found a solution, I wasn't necessarily happy with the solution. I went with the M65x1 adapters because they are the largest adapters that offered a complete solution for what I was looking for and the M65 size is very close to what Cambo uses for their retrofit mounts.

Here are the components in the picture from left to right…
  • Digital Back
  • Arca 40.5mm rear spacer
  • Arca Rotamount
  • Rm3di
  • Arca Digitar 80n ring
  • Arca R Lens Board Hasselblad V Bayonet
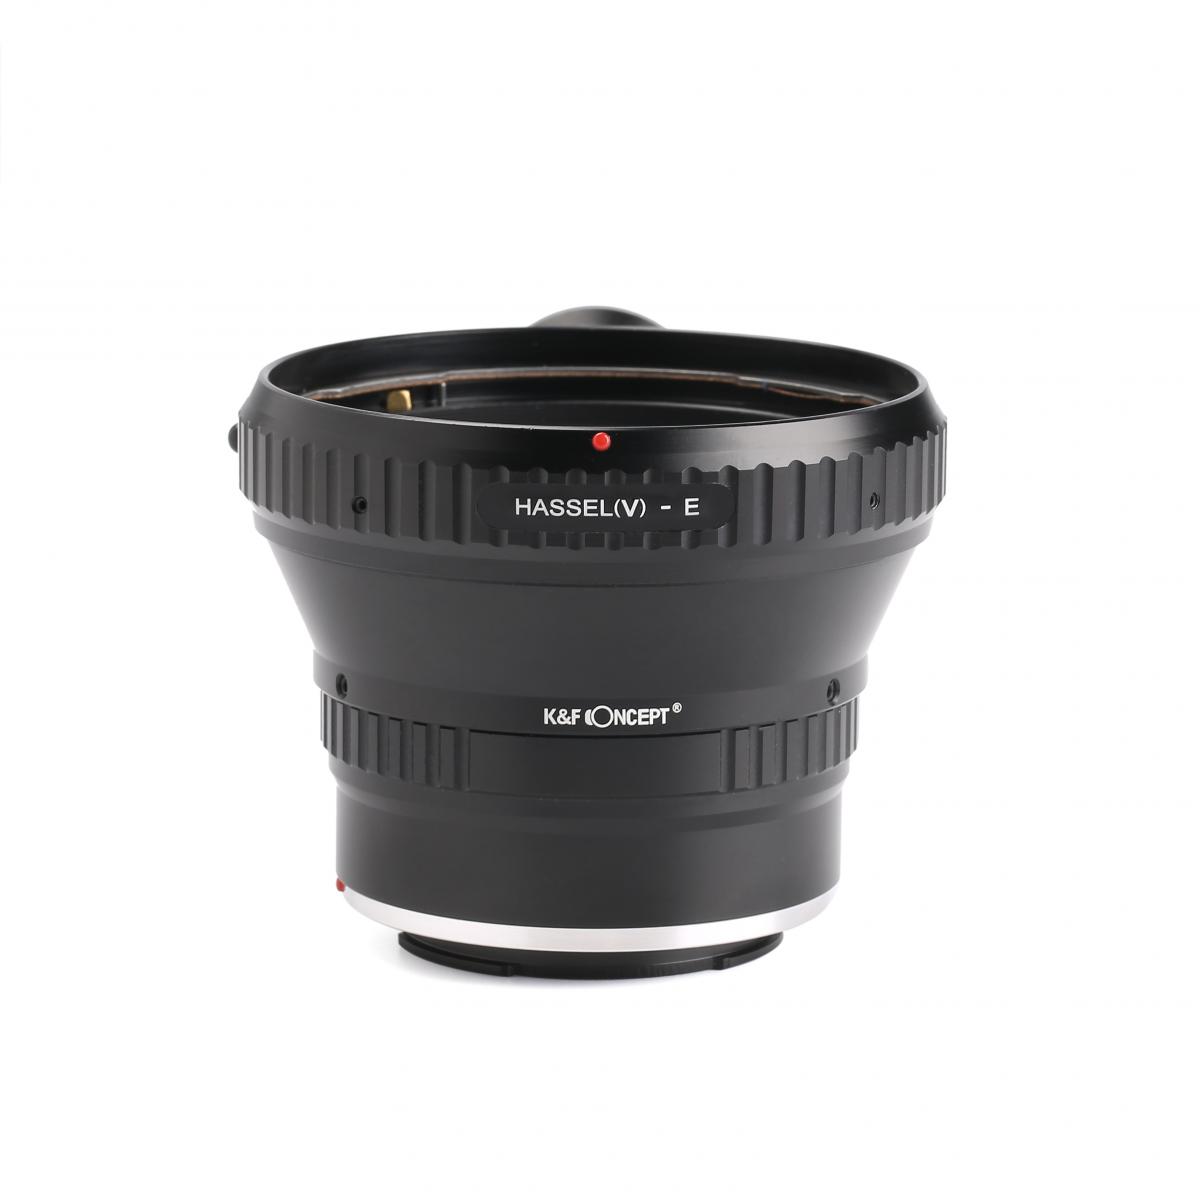
  • M65 Female Thread to Hasselblad V Adapter
  • M65 to M65 36mm Extension
  • 34.6mm Bore (Copal 0) to M65 Lens Plate
I wasn't sure if adding a 65mm extension would cause vignetting. However, after testing with shifts of up to 20mm Camera Fall and 15mm LR, there is no vignetting. An added bonus is that there is also no flare. It seems that either the FotoHigh's design handles flare better than Arca's or having the 65mm extension in the front prevents light from bouncing around as much. Not sure, but so far I see no need to add flocking.

Rm3di-1508-nikon-m-200.jpg
 

KlausJH

Well-known member
That looks really great:I like that. Where did you get the M65 to Hasselblad V adapter and Copal 0 to M65 from? I wasn't able find one. Thanks
 

diggles

Well-known member
You beat me to it, I was just writing this post…

Here is the Copal to M65

Here is the M65 to Hasselblad V

I'm also doing the same thing with the Apo Symmar 100mm and Apo Digitar 90n

Rm3di-1515-apo-digitar-90n.jpg
Apo Digitar 90n
  • Digital Back
  • Arca Rotamount
  • Rm3di
  • Arca R Lens Board Hasselblad V Bayonet
  • M65 Female Thread to Hasselblad V Adapter
  • 34.6mm Bore (Copal 0) to M65 Lens Plate
Rm3di-1516-apo-symmar-100.jpg
Apo Symmar 100mm
  • Digital Back
  • Arca Rotamount
  • Rm3di
  • Arca R Lens Board Hasselblad V Bayonet
  • M65 Female Thread to Hasselblad V Adapter
  • M65 to M65 6mm Extension
  • 34.6mm Bore (Copal 0) to M65 Lens Plate

The lenses are nice and compact too.
_GFX4308-M65-Lenses.jpg
 
Top