Re: Fun with the Sony A7 Series Cameras( all of them)
Barry: I gave it a try. RAW image shown first. A7RII 16-35mm Zeiss. I then over saturated the image. Then I made a duplicate layer. On the duplicate layer I used Silver Efex Pro and made a B&W image, then adjusted the opacity. Added some geese just for fun. Burned, dodged, and burned the edges. Thanks a million. My attempt is not any where near as nice as yours, but I can see it takes practice, and at age 78 and retired...heck I am having fun!!
Dave
That’s excellent Dave, I would be very happy to have produced that myself, adding the geese was a nice touch that works IMO
")
It’s all about having fun and sharing here on this thread of Guys, I have learnt a lot from others here who have also kindly shared with me....I was honoured that you should even want to give it a try...Thank you!
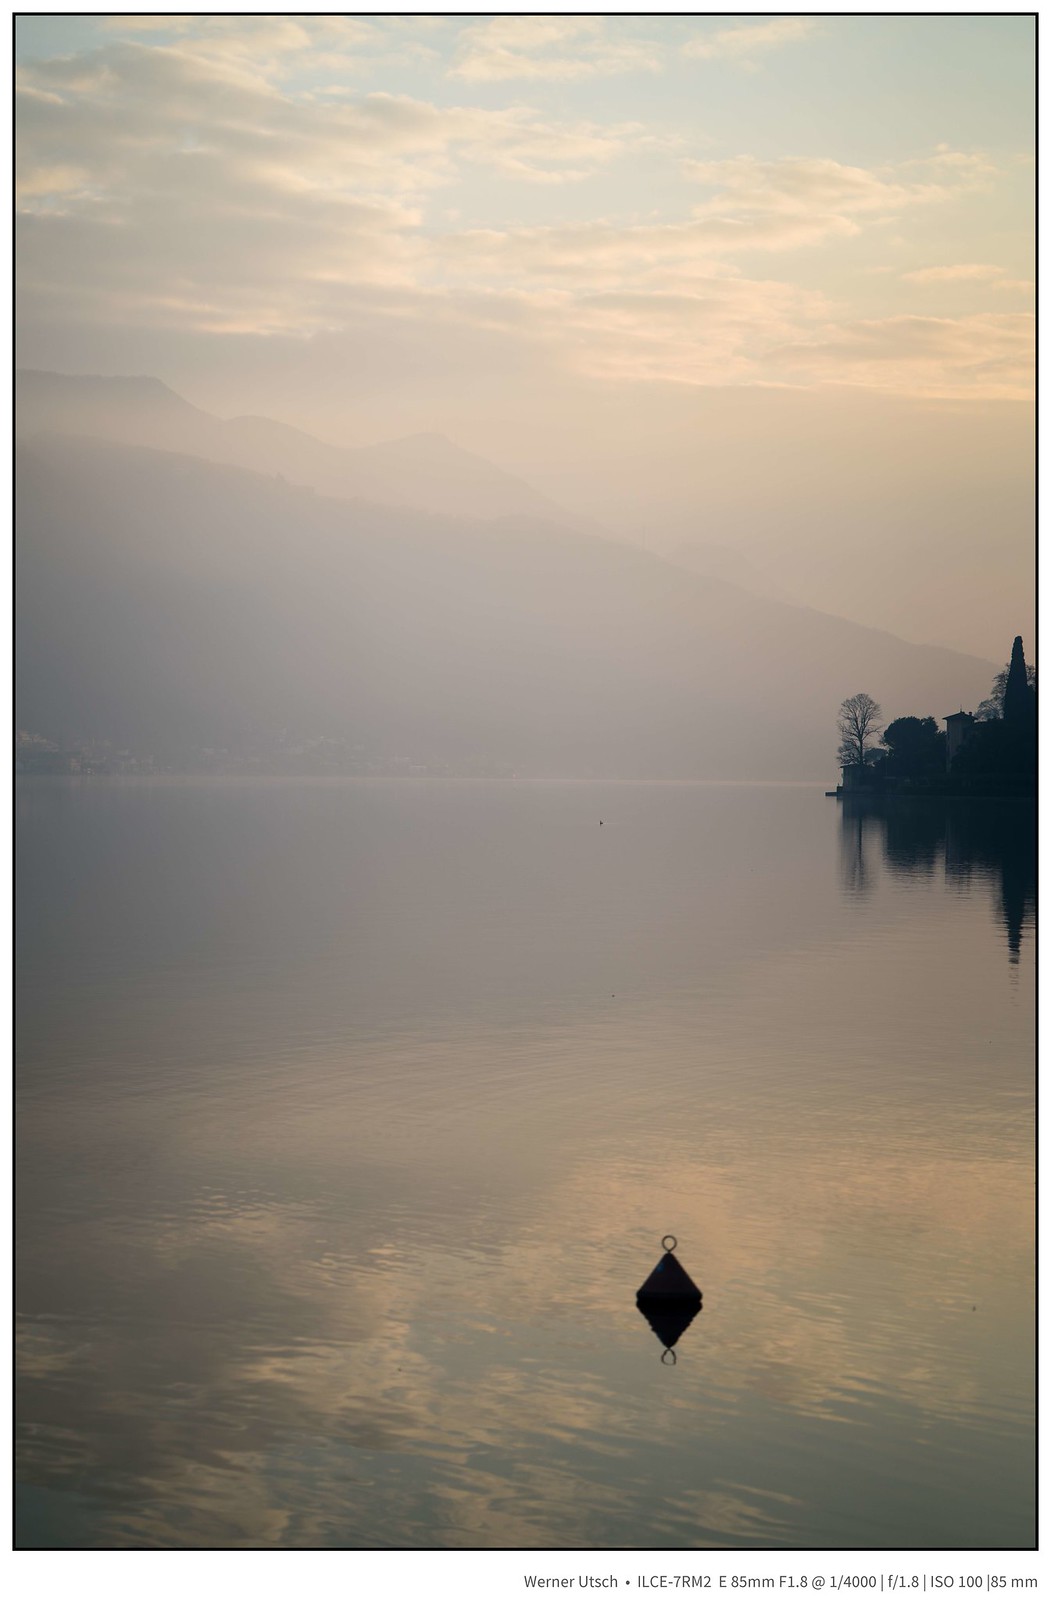
As you posted I was just preparing a rough sequence that I kind of follow for my BLENCOMO treatment, it might be of help to some people who like playing around PP...Please scroll on for those not interested and I apologise if it comes over as a bit of a lecture for those that are
I have put the original DNG image in my Dropbox for anybody that might want to give it a try for themselves.
(21mm Loxia “handheld at 0.4 sec thanks to good old IBIS”
)
https://www.dropbox.com/sh/ouotsg9zozbpcp2/AAC9Vanp4hZZAR1gAzx-EEMsa?dl=0
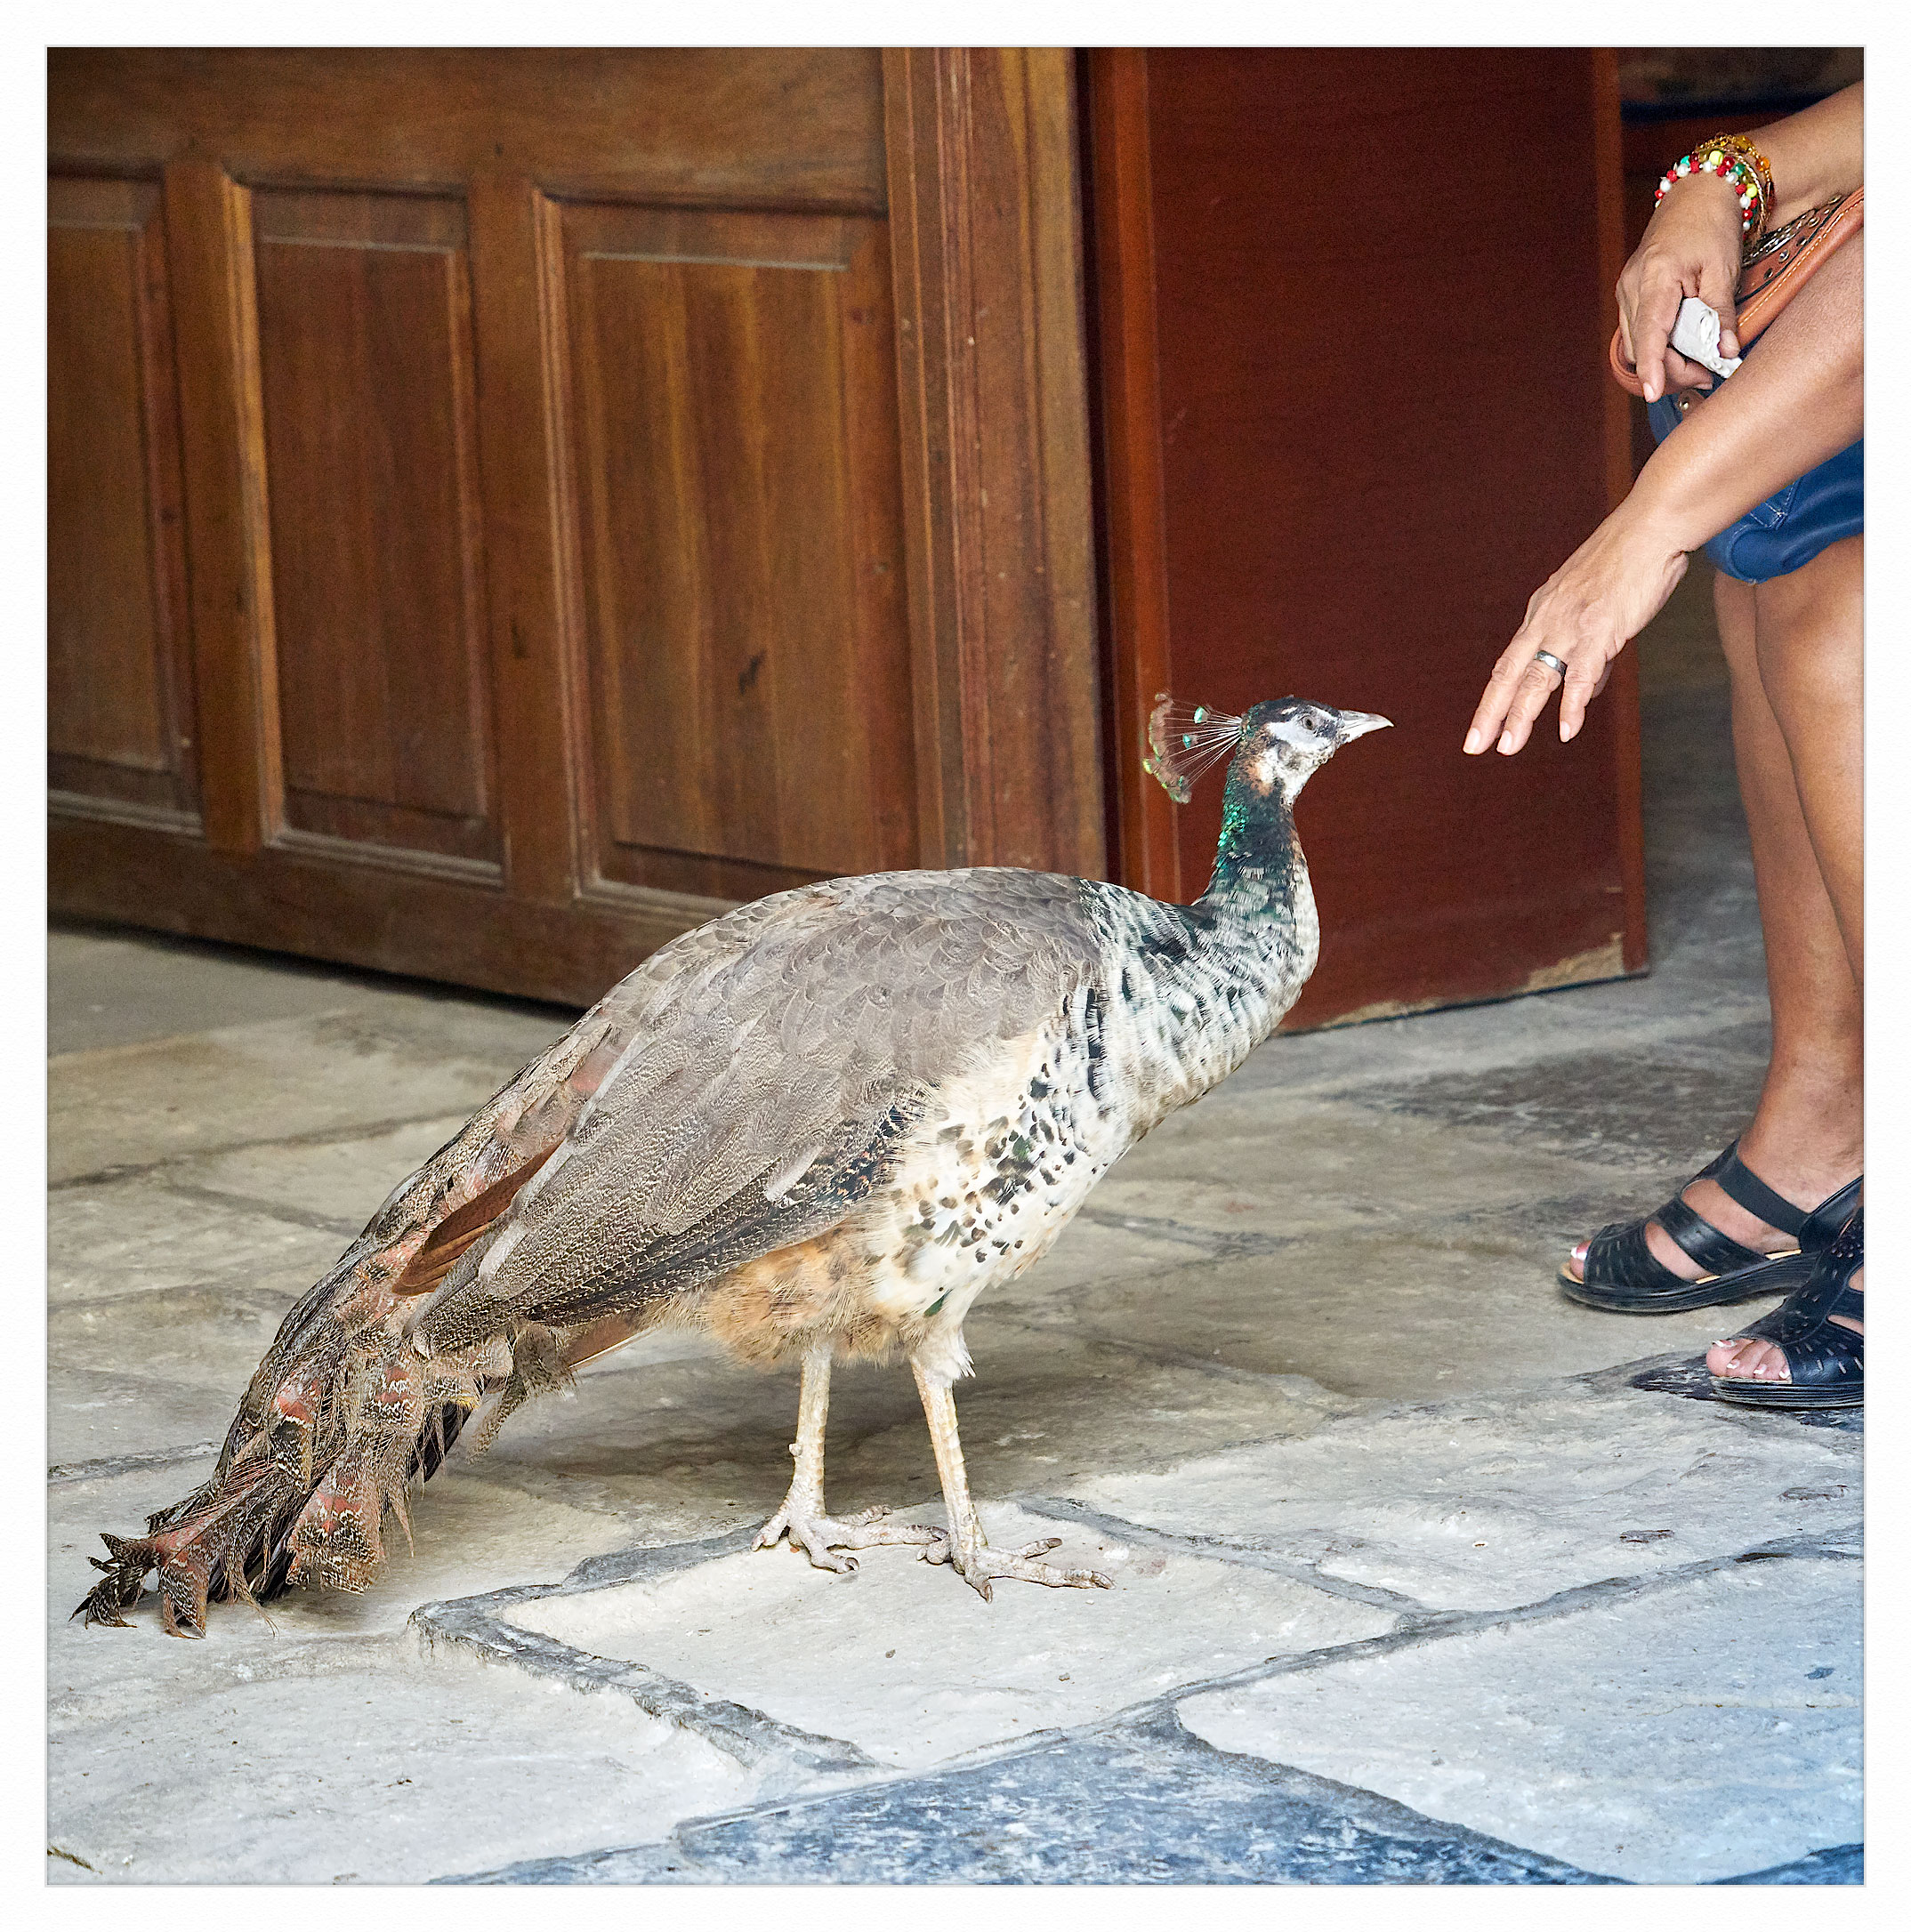
As you can see the Original “As shot” is a dull lifeless image
Original “As Shot”

Step 1. I use CS Photoshop and run it through Adobe ACR and ended up with this...Which frankly is still not much better either, it’s opened up the shadows somewhat, It’s an image that I would normally just give up on at this stage...It needs a bit of life injected into it, so I blend it with a punchy B&W image

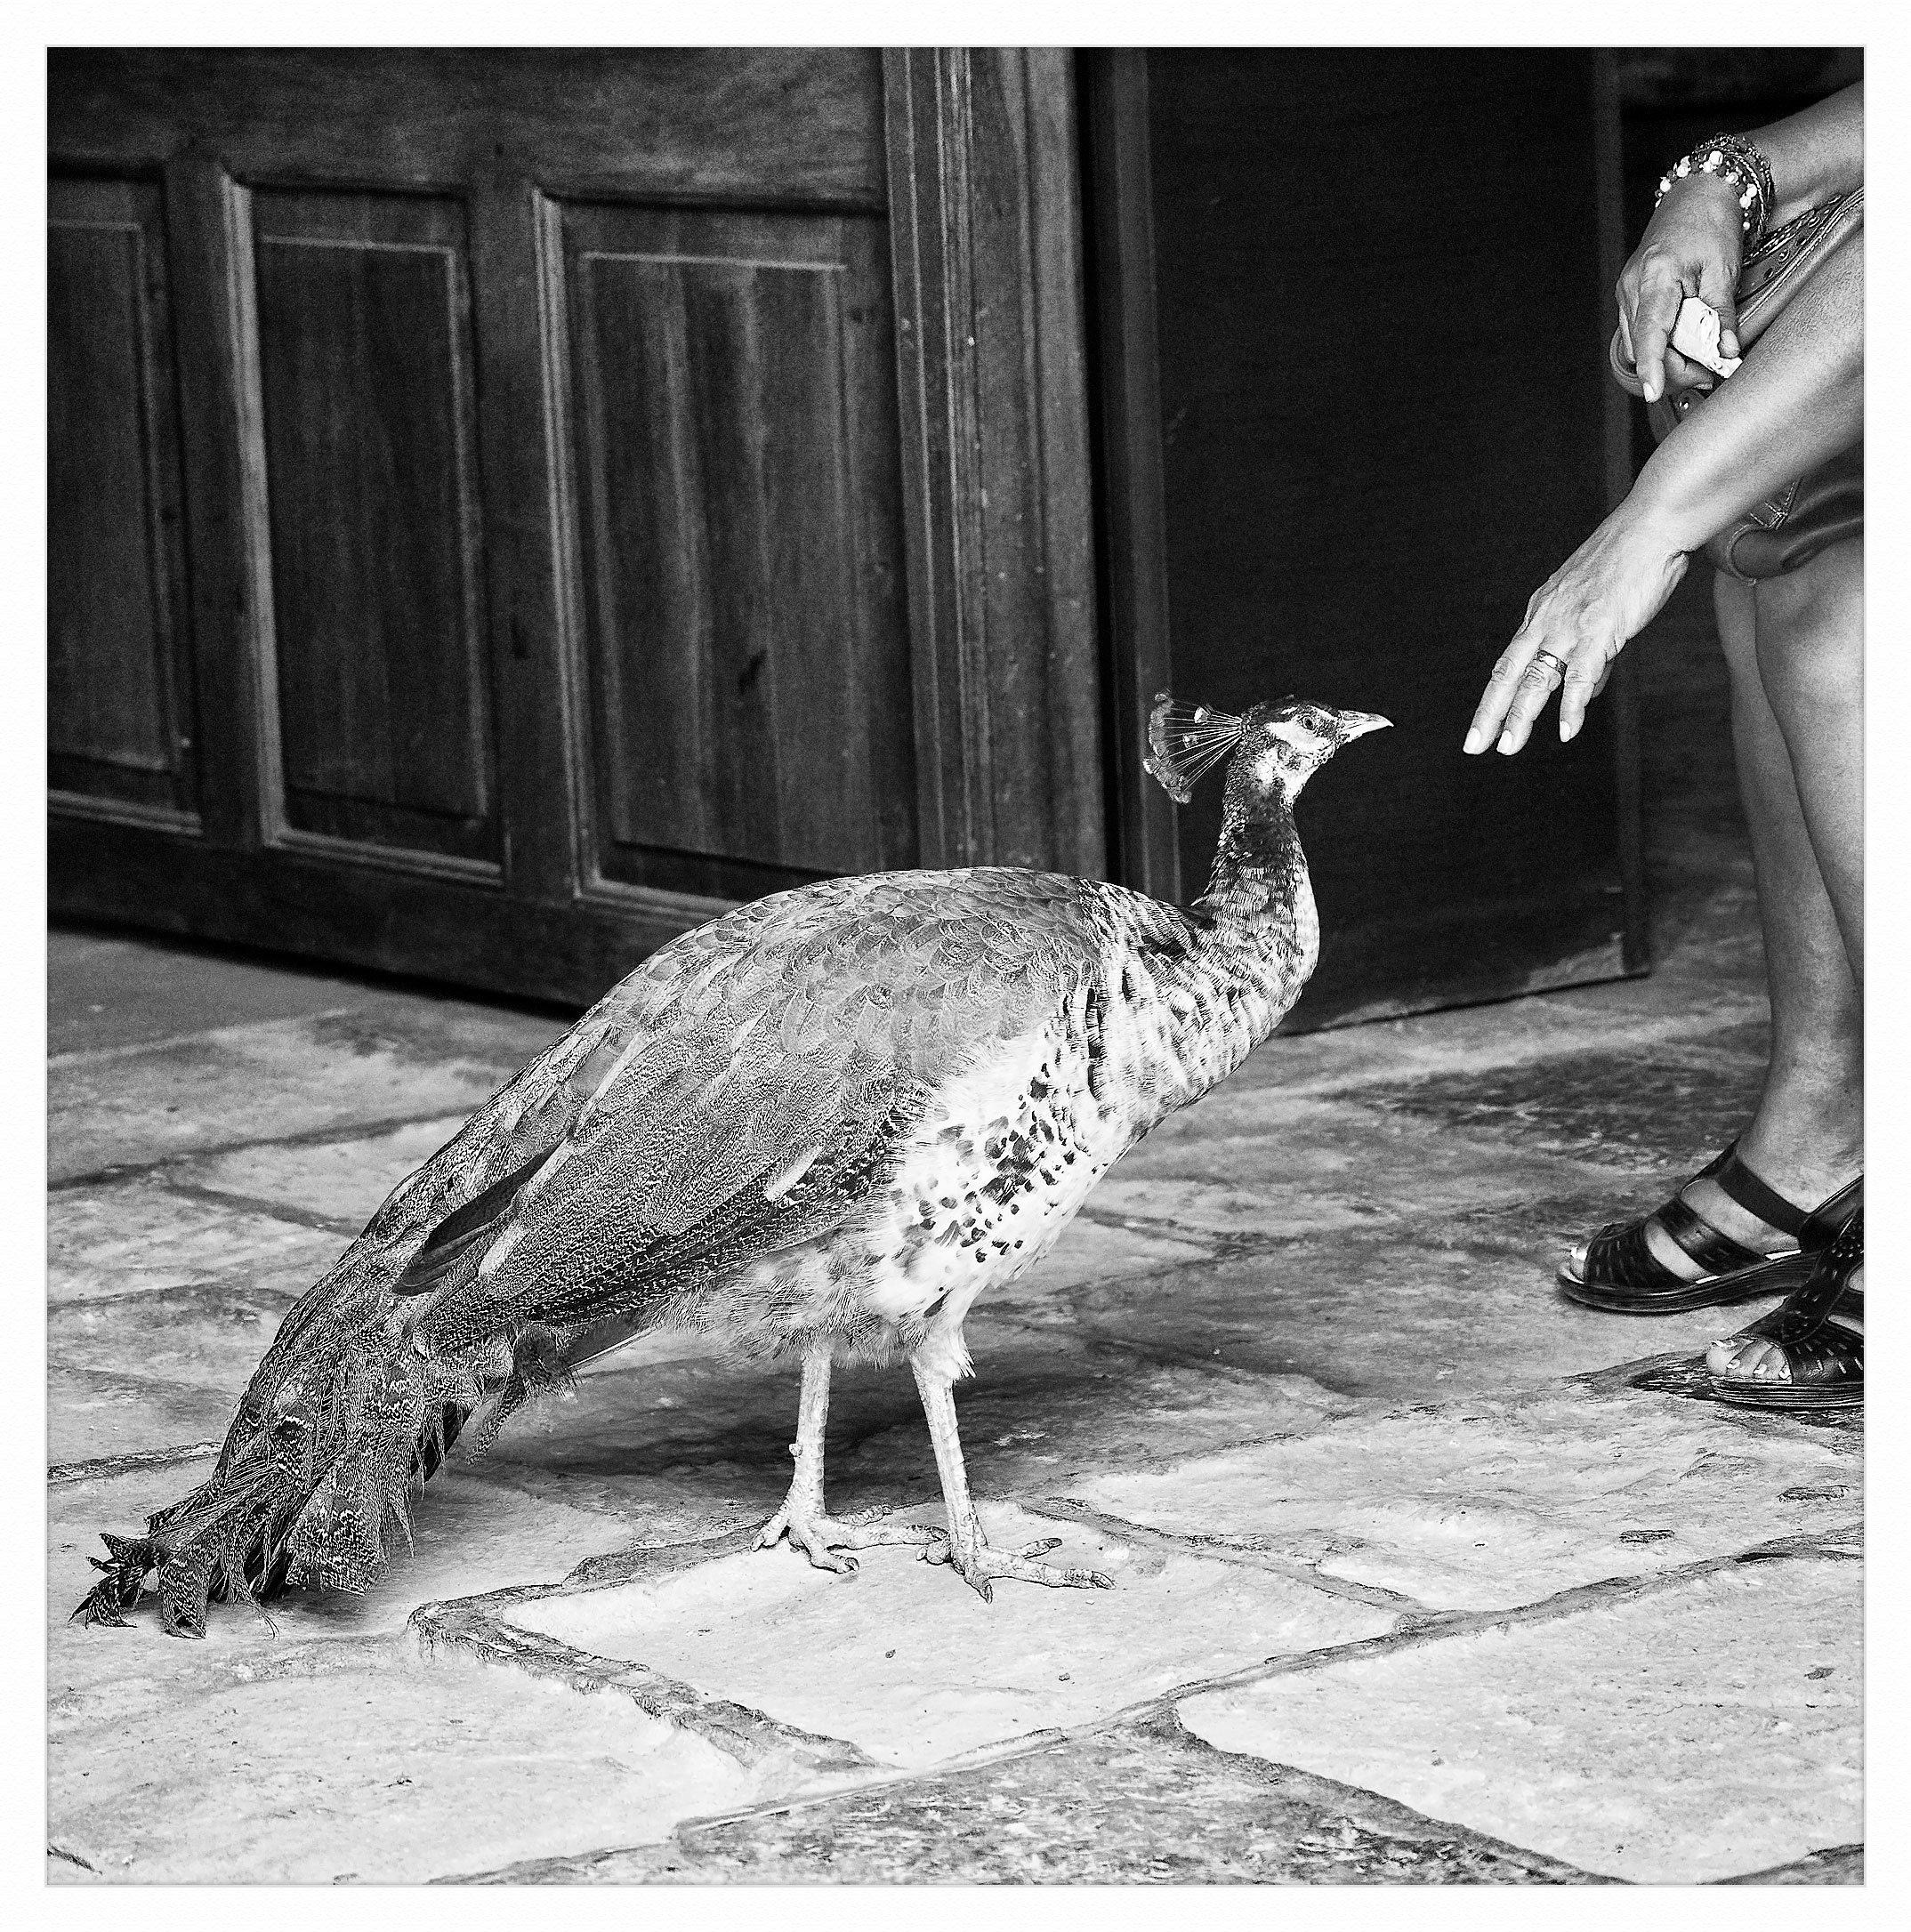
Step 2. I now make a copy image of Step 1 and run it through Nik Silver Efex Pro 2...I normally choose preset 15 or one of my own > I add a 4% vignette > lighten and darken areas with the selection tool > reduce “fine structure” to a minimum to lower noise levels and alter the individual tone “structure” sliders to taste > now I balance the soft contrast slider to get the tonal balance of the whole image how I want it to look > (optional you can now add some colour toning to the image at this stage but I didn’t in this instance) > OK...I ended up with a B&W image looking like this...

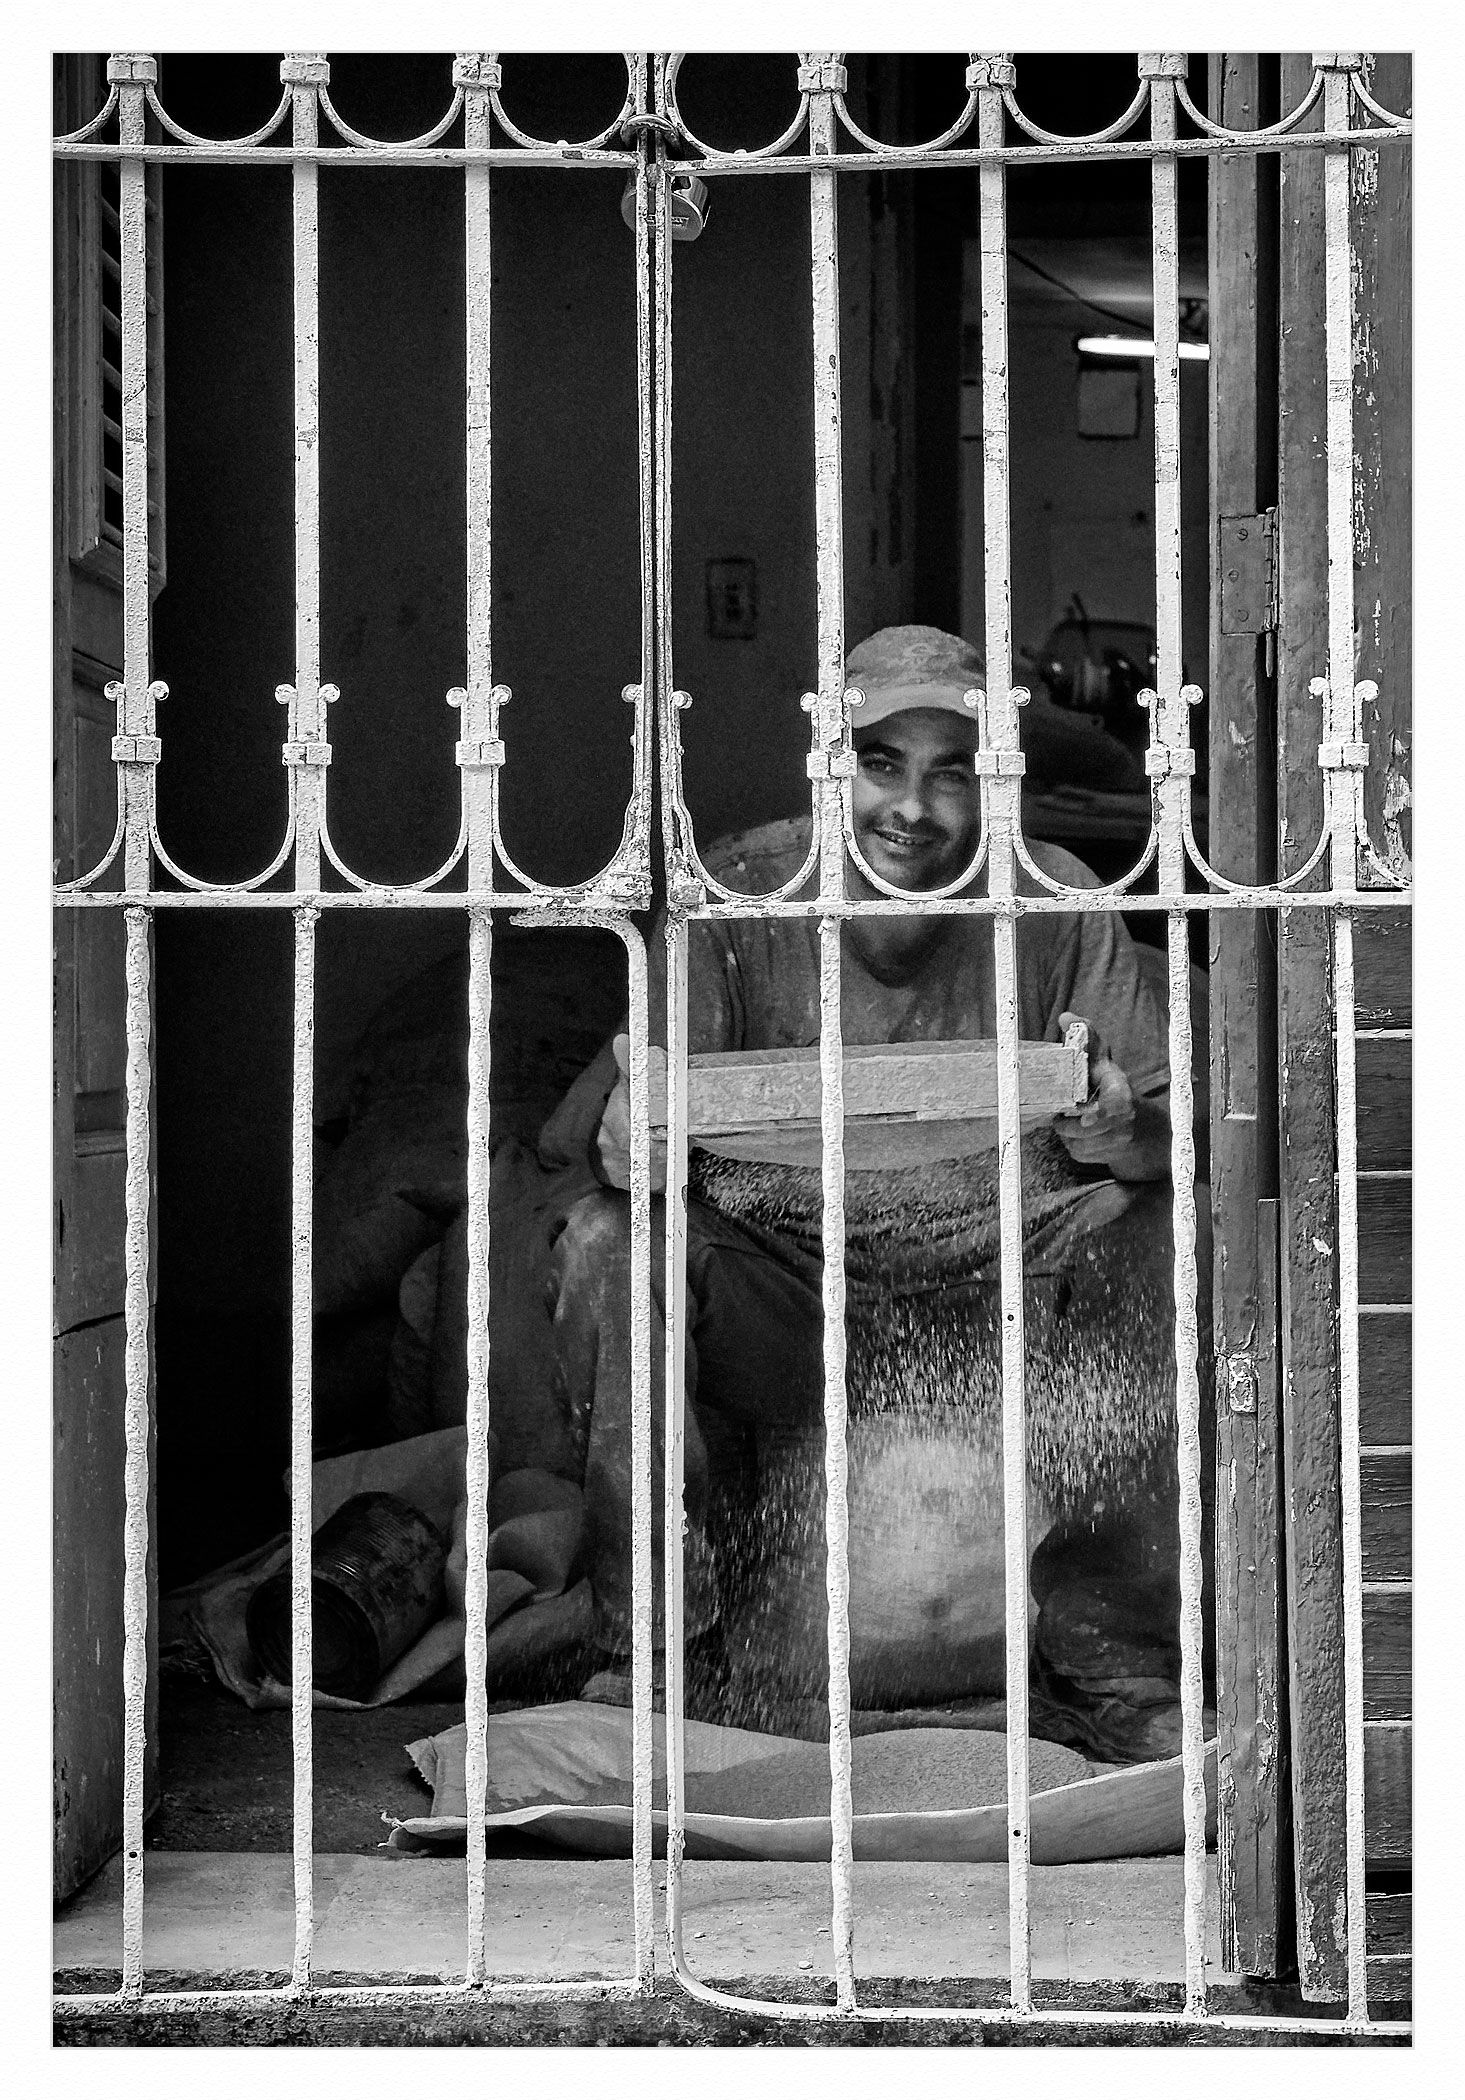
Step 3. Select all (marching ants) on the B&W Step 2 image and copy and paste that on top of the Colour Step 1 image > Fade the top layer opacity to 85% to allow some of the colour to pass through > (Optional you can now burn, dodge or even erase selected areas on the B&W top layer should you so wish but I didn’t in this instance) > Layer, flatten the image. I ended up with a pale/weak colour image looking like this...

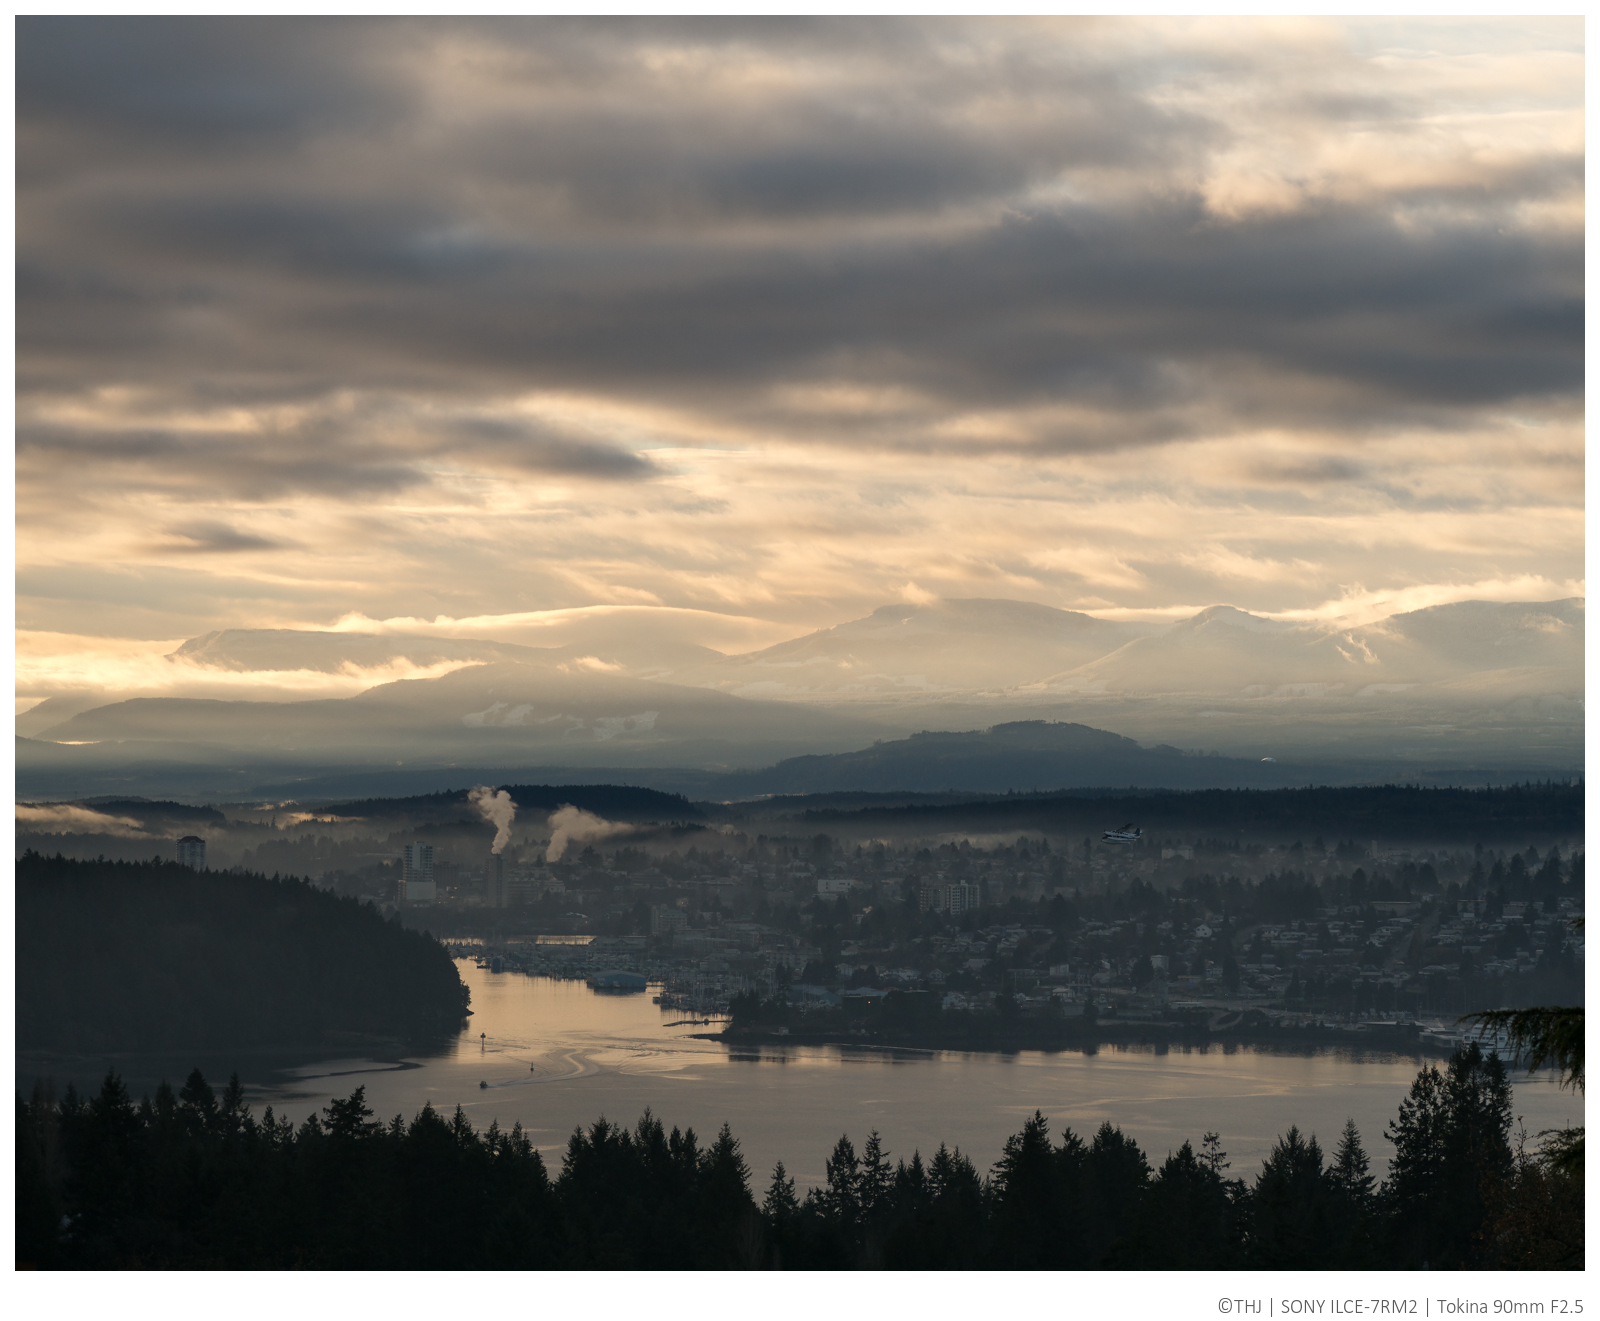
Step 4. Finishing touches to this image > Add 100% Vibrance to inject some colour back in the image > Auto Contrast then edit fade back slightly to protect the highlights, whilst looking at the histogram at the same time > Some slight 1% dodging of midtones + some burning 1% to the top part of the sky > A slight S shaped curve adjustment to add some extra contrast boost > some slight noise reduction is also necessary at this stage after cooking the image...I now ended up with an image now looking like this...

Step 5. Final steps I like to add a frame via Lightroom Mogrify 2 with title etc and now lastly downsize the image before uploading to Flickr
I personally prefer to use Web Sharpener
http://andreasresch.at/2013/04/07/web-sharpener-better-sharpening-for-the-web/ as it steps down using Lab color mode which you can adjust finely in layers.
I hope this maybe of help to some of you...Who knows it might even rescue one of your old flat looking images that you couldn’t be bothered with in the past...Cheers Barry

 as nice as yours, but I can see it takes practice, and at age 78 and retired...heck I am having fun!!