The GetDPI Photography Forum
Great to see you here. Join our insightful photographic forum today and start tapping into a huge wealth of photographic knowledge. Completing our simple registration process will allow you to gain access to exclusive content, add your own topics and posts, share your work and connect with other members through your own private inbox! And don’t forget to say hi!
More and more film fun with something other than a Leica M
- Thread starter fotografz
- Start date


Godfrey
Well-known member
Excellent! What Hasselblad, what lens?
ggibson
Well-known member
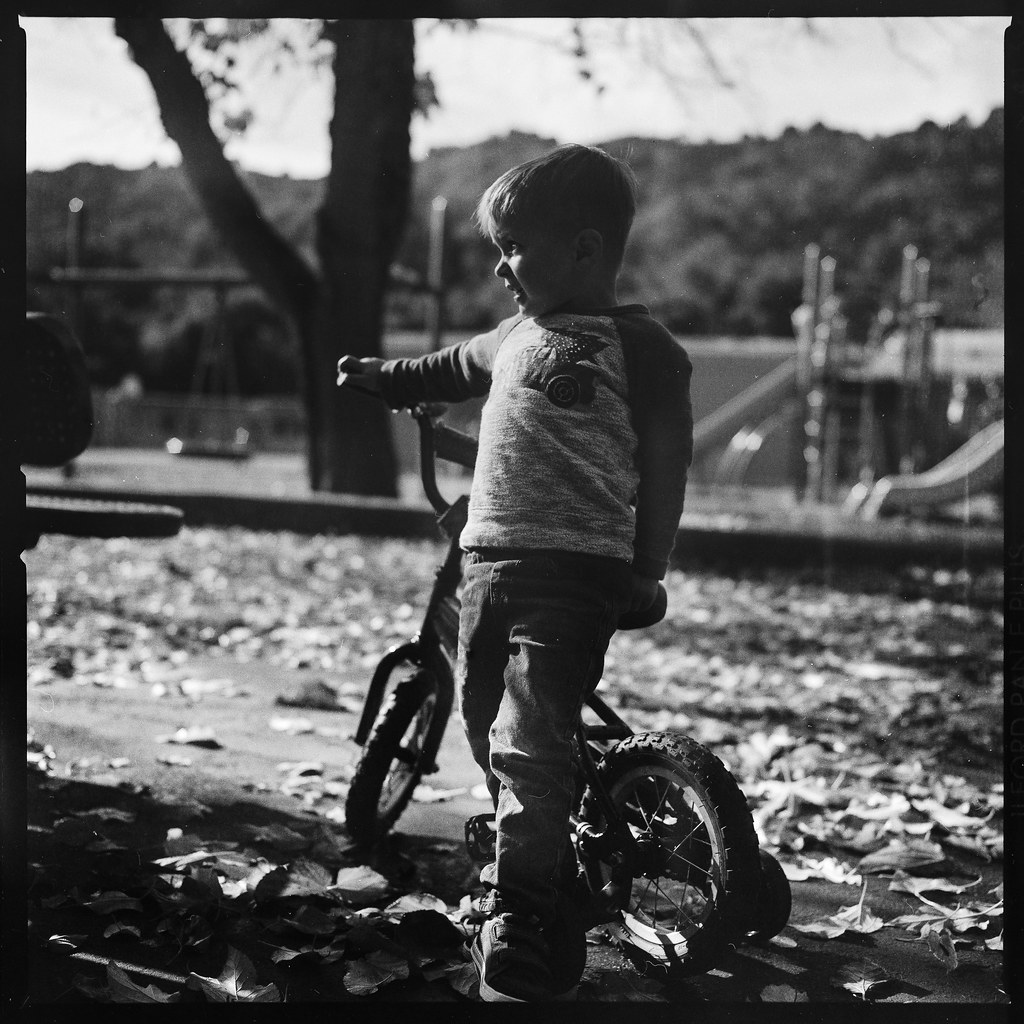
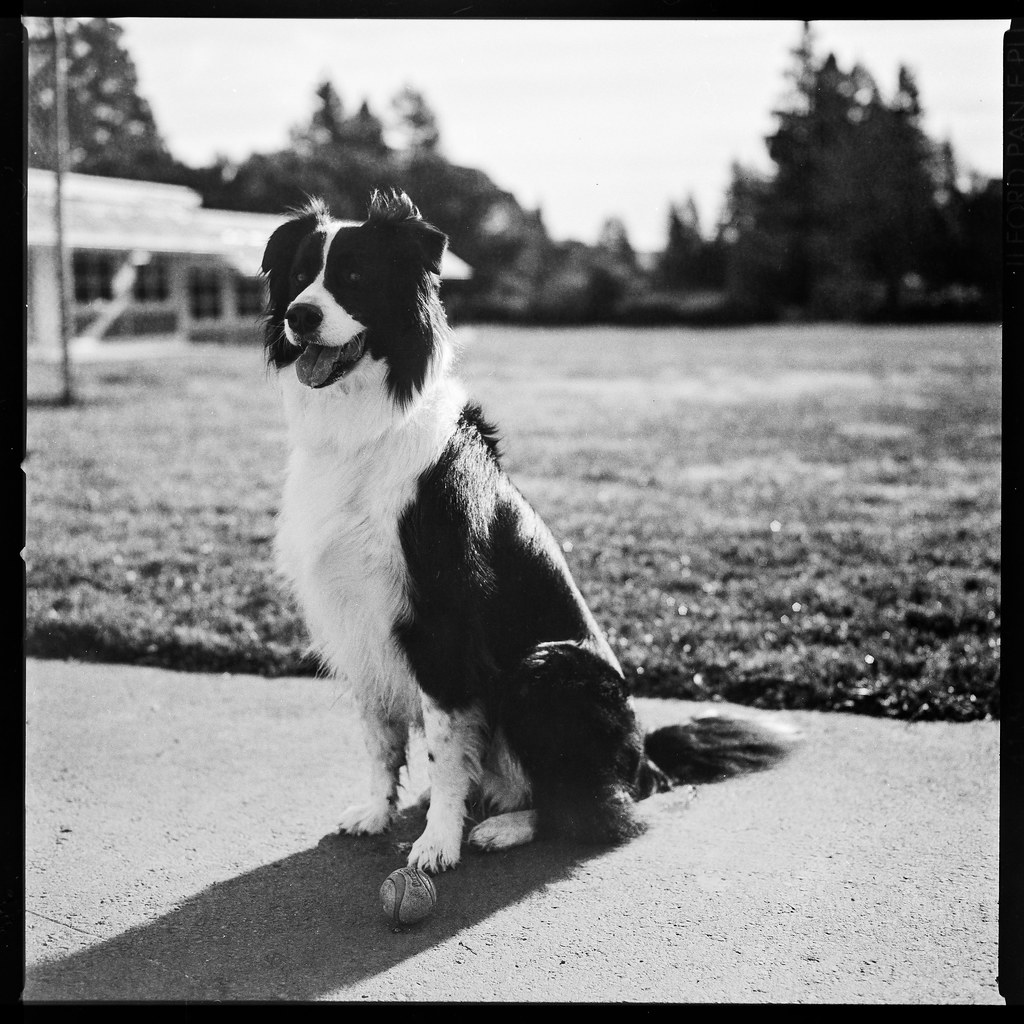
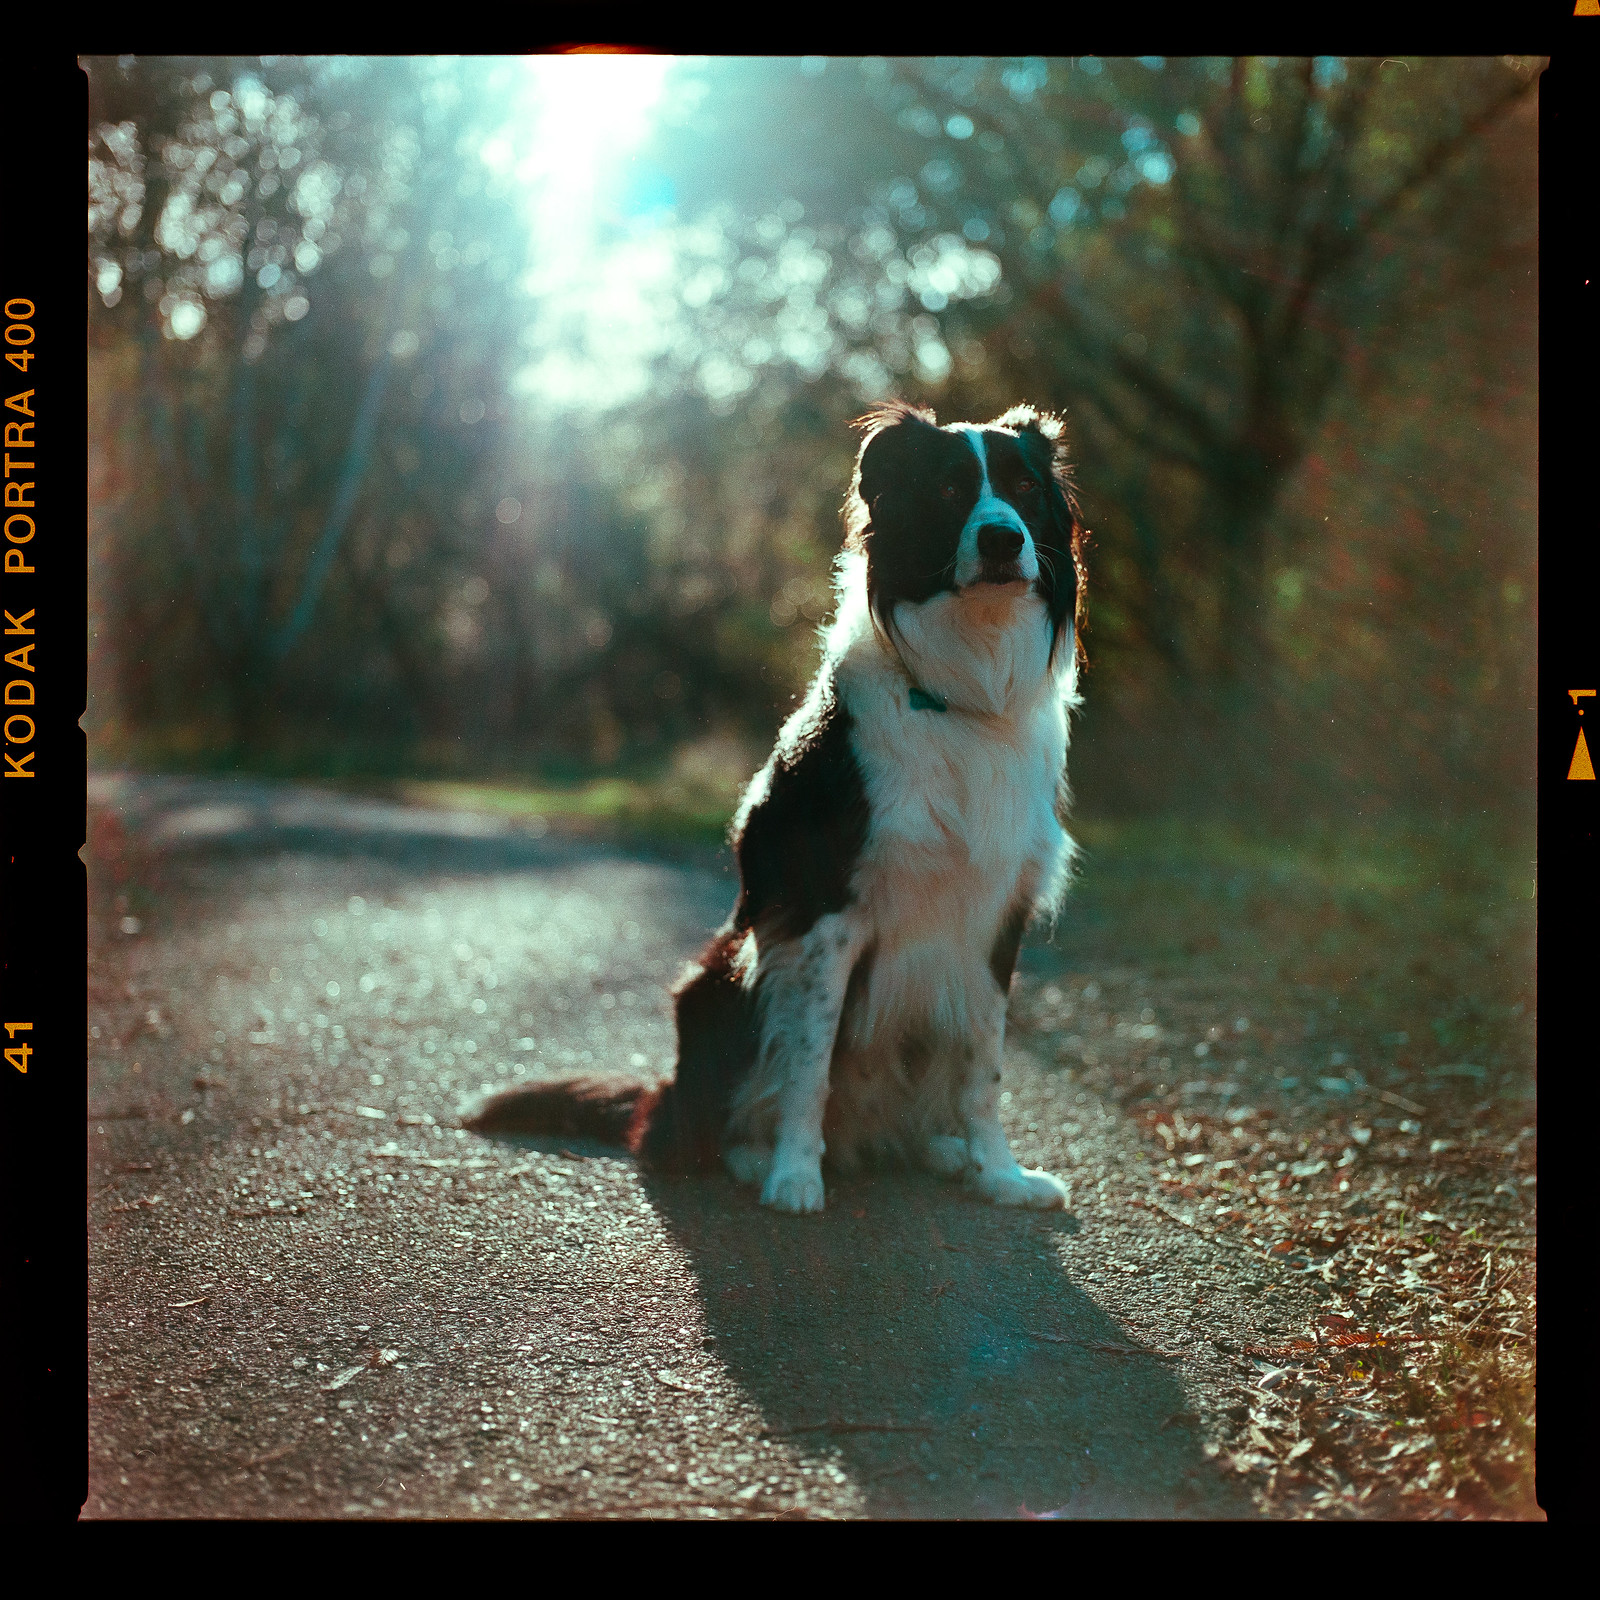
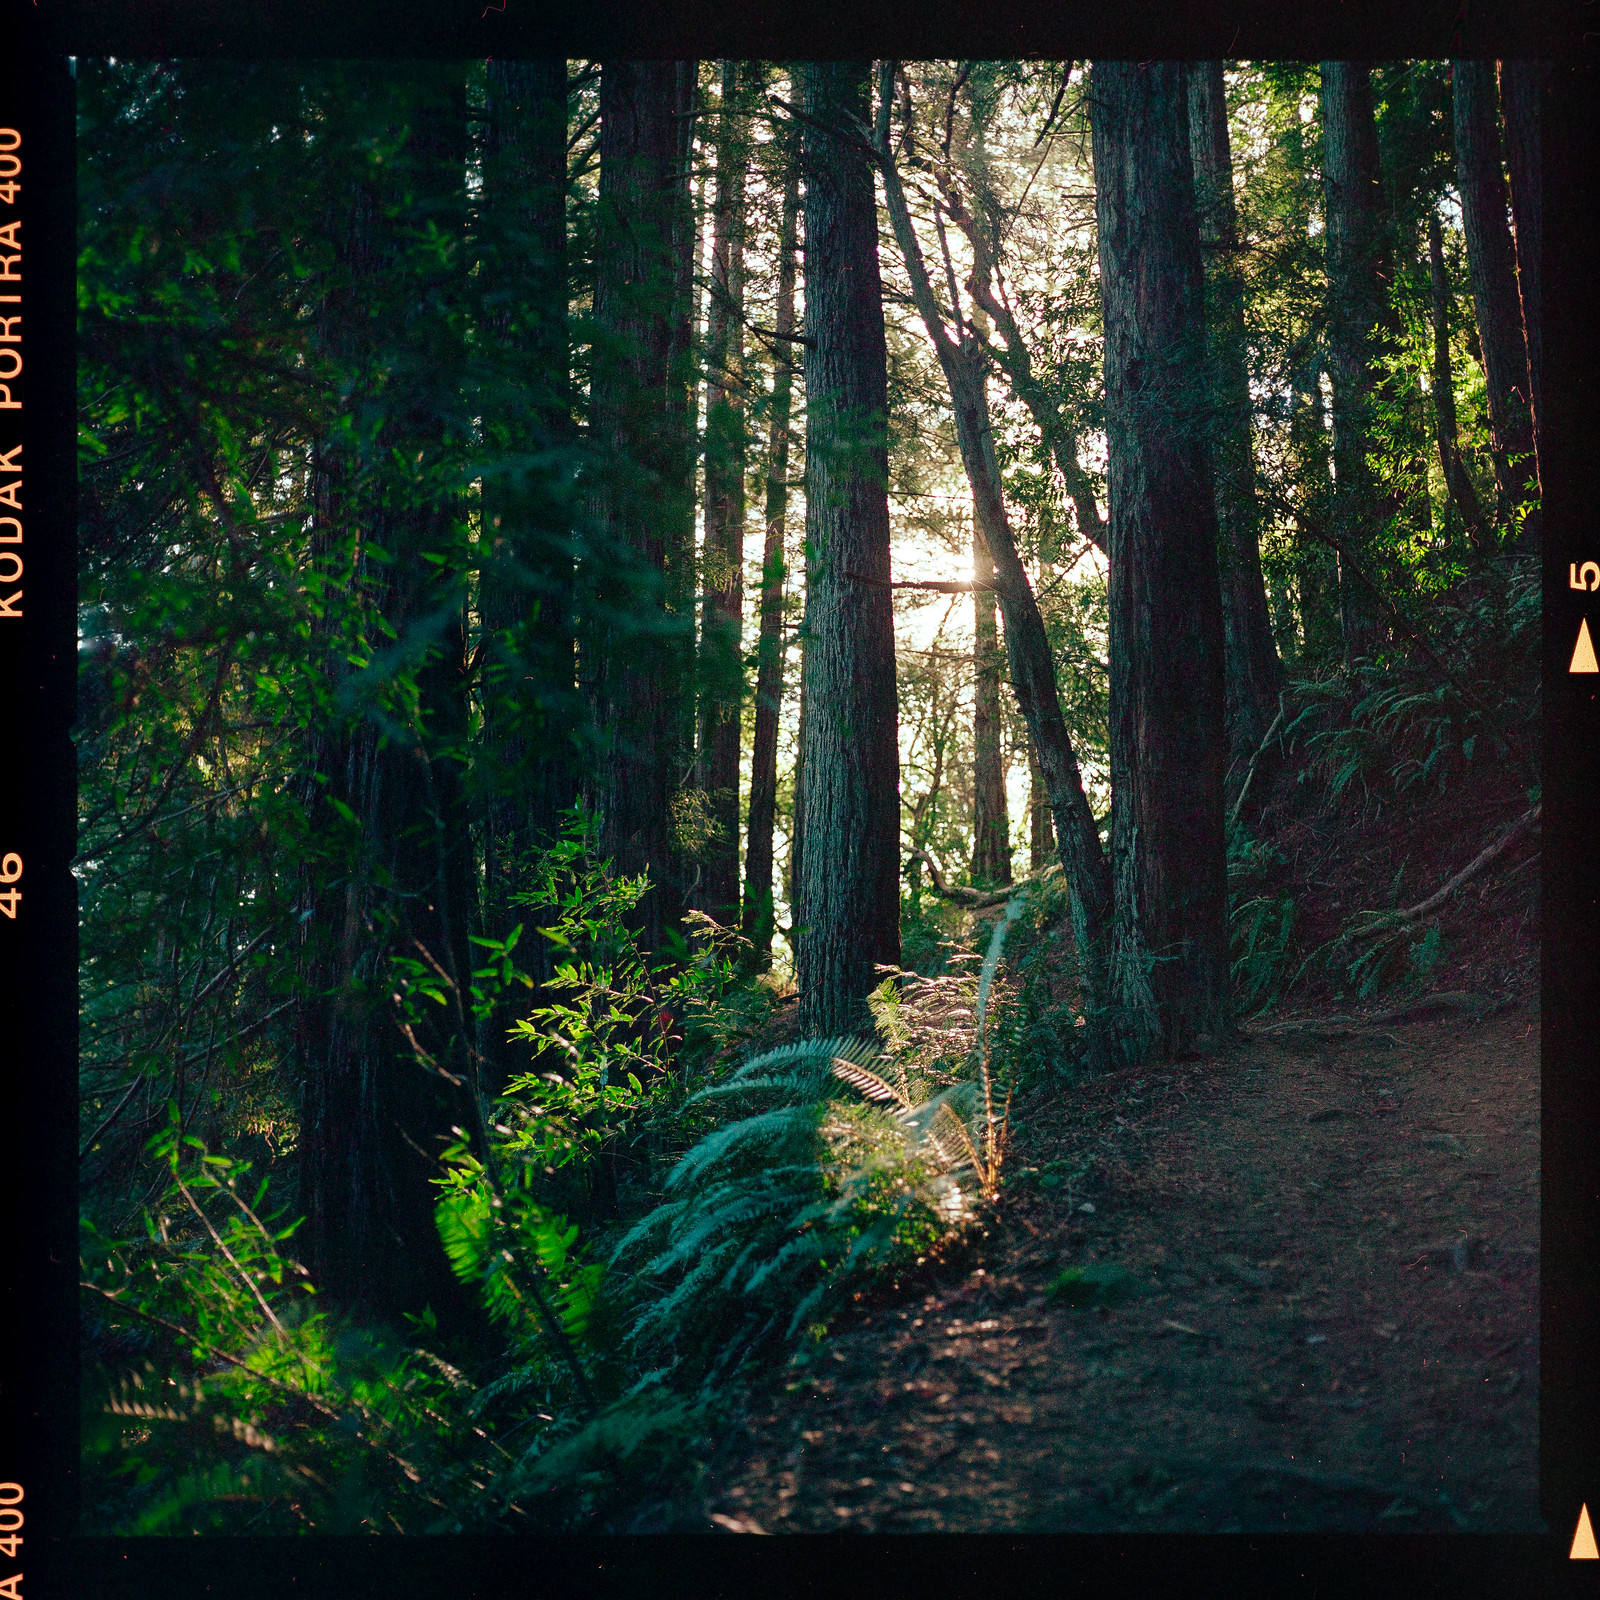
Thanks! I’m shooting a 503cx with the classic Zeiss Planar 80mm f2.8 CF. I picked it up about a month ago (with 150/4 also), so that I can shoot some film again and try out medium format. I have some more shots on my Flickr:Excellent! What Hasselblad, what lens?
https://www.flickr.com/photos/grahamgibson/albums/72157699010176040
Godfrey
Well-known member
Very nice! Your photos give me the itch to pull out my 500CM and do some shooting with it.Thanks! I’m shooting a 503cx with the classic Zeiss Planar 80mm f2.8 CF. I picked it up about a month ago (with 150/4 also), so that I can shoot some film again and try out medium format. I have some more shots on my Flickr:
https://www.flickr.com/photos/grahamgibson/albums/72157699010176040
")
I've got the Planar 80 and Sonnar 150, both are great, but my prize lens is the Makro-Planar 120/4. Also have a Distagon 50 as well as the SWC... The kit has been woefully underused these past five years or so. I once thought I'd get the CFV 50c back for it, but in the end I find I can't deal with the reduction from 6x6cm and it's an awful lot of money to spend for something that I'm not going to be all that happy with.
I'll get back to it at some point. It's such lovely equipment to work with and*the photos it makes have a unique look and feel.
G
KeithDM
Well-known member
A dull January morning at the National Trust's Dyrham Park. Hasselblad 500C, 80mm Planar, Ektar 100.
View attachment 138820
View attachment 138821
View attachment 138820
View attachment 138821
dave.gt
Well-known member
Nice!Thanks! I’m shooting a 503cx with the classic Zeiss Planar 80mm f2.8 CF. I picked it up about a month ago (with 150/4 also), so that I can shoot some film again and try out medium format. I have some more shots on my Flickr:
https://www.flickr.com/photos/grahamgibson/albums/72157699010176040
Graham, how are you scanning your negatives?
ggibson
Well-known member
For now, I'm scanning like this, and I did a little write-up on flickr that I'll paste below:

6x6 film "scanning" with the Sony A7rII by Graham Gibson, on Flickr
6x6 film "scanning" with the Sony A7rII by Graham Gibson, on Flickr
Let me know if you have questions about scanning like this.A few people have asked about how I'm digitizing my Hasselblad film, so here's a pic of the setup. There are many articles out there about scanning film with a DSLR, so I thought I'd give it a whirl before spending money on a scanner or paying a lab to have it done.
The film sits on the glass from a basic picture frame, with an iPad positioned about 2" below as a backlight/lightbox. The iPad needs to sit a bit back from the film so that the camera doesn't capture the RBG pixel pattern. In the shot above, I have another piece of glass on top used to flatten the film, but unfortunately this introduced some strange moire and added more dust/dirt to remove no matter how much I tried to clean things. A better solution has been to flatten the film without adding the layer on top of the film itself (I'm just weighing down the edges to keep it as flat as possible). Dealing with dust is still an issue though.
The camera is a Sony A7rII with the Sony Zeiss 55/1.8 and a Sigma AML-2 close-up lens. This provides about a 1:3 magnification ratio, and the 6x6 film covers about 80% of the full frame sensor. After cropping, that is around 4000x4000. Going much closer would require image stitching and a lot more time processing (not something I want to do at this point).
So what's the verdict? Well, I have no basis for comparison yet, so I'll have to have some lab scans done next before I can really say, but I'm pretty satisfied with the results so far. I'd imagine it's more time-intensive than using a scanner with Digital ICE (at least for color) to clean things up. Dust, dirt, and scratches are definitely a pain, and you can see I've posted many images without taking the time to correct. As-is, these are great as a digital contact sheet and record. For printing those special images, it might be worth getting a professional scan done. Alternatively, using a darkroom for prints of my black and white images is something I'll plan to do as well!
KeithDM
Well-known member
Two more from Dyrham Park (NT). H500C, 80mm Planar, Ektar 100, Epson V700.
View attachment 138834
View attachment 138835
View attachment 138834
View attachment 138835
ggibson
Well-known member
Godfrey
Well-known member
Did the same at the start, eventually replaced the tripod with a good copy stand and the iPad with a color temperature balanced flat panel light box. The light box illuminated surface is not glossy, so I can use a glass plate on top of the emulsion side of the film for flatness and not get Newton rings or other artifacts.For now, I'm scanning like this, and I did a little write-up on flickr that I'll paste below:
...
Let me know if you have questions about scanning like this.
Sold my medium format scanner. 9 mpixel squares are good enough.
ggibson
Well-known member
Ah, Newton rings... that's what I was seeing when I was using the glass on top of the film. Good to know that a lightbox can fix that, so maybe I'll look for one to make things easier.Did the same at the start, eventually replaced the tripod with a good copy stand and the iPad with a color temperature balanced flat panel light box. The light box illuminated surface is not glossy, so I can use a glass plate on top of the emulsion side of the film for flatness and not get Newton rings or other artifacts.
Sold my medium format scanner. 9 mpixel squares are good enough.
Do you have a good strategy for cleaning dust/hair? Or is it always necessary to do a bunch of spot healing? Even with careful handling and using a rocket blower, I have to do a bunch of work to clean things up and Lightroom can get quite slow after so many spot adjustments.
ggibson
Well-known member
Godfrey
Well-known member
I don’t know whether to classify this as shooting with a Leica M or not...
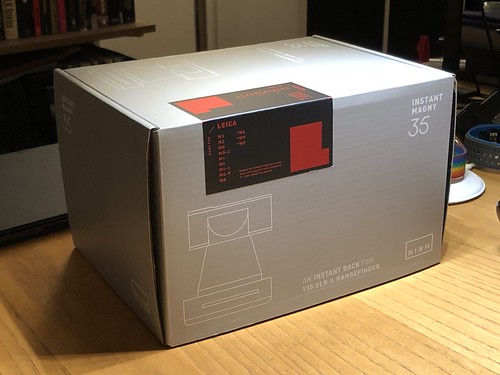
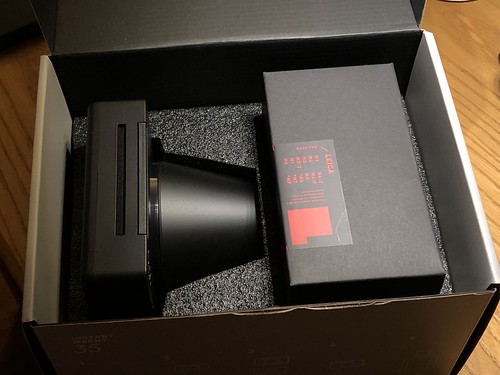
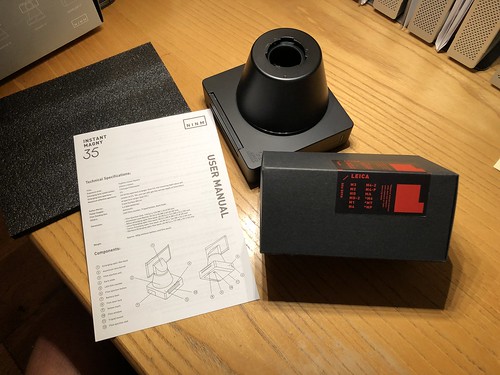
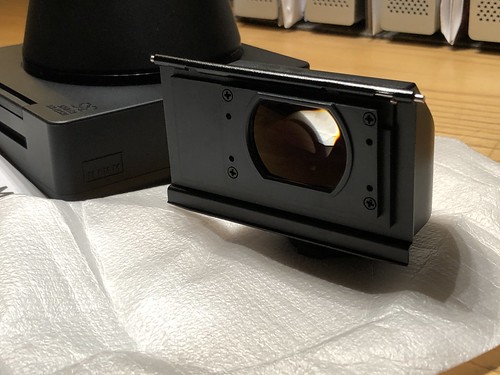
The Instant Magny 35 has arrived! Nicely packaged for shipment, the unit itself is nicely packaged too. Just handling it, it has a well-made, precise, quality feel. It fitted up to my M4-2 easily and quickly. I fitted a Nikon SB-30 to it, set f/5.6 @ 1/50 second, and made a test exposure.. It works well!
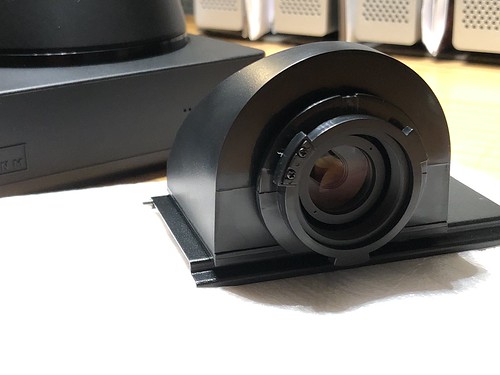
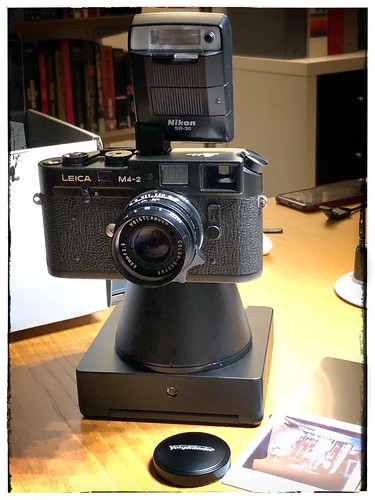
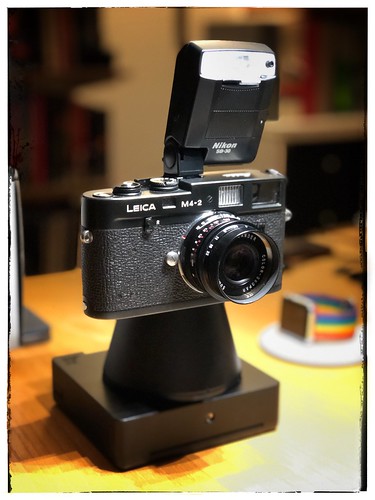
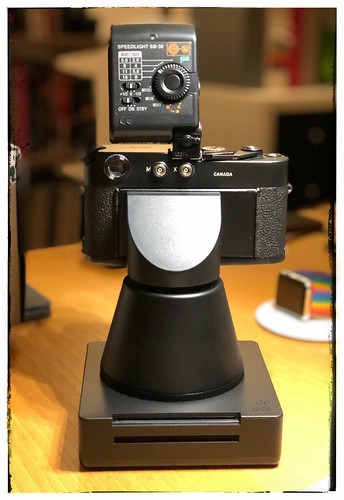
First test exposure ... Color Skopar 50mm f/2.5 set to f/5.6, camera set to 1/50 flash sync, distance at 0.9m, auto flash. I was a bit close and should have flipped the diffuser on the flash to kill the hot spot, but it all works well. Note that I've flipped the image left to right in SnapSeed.
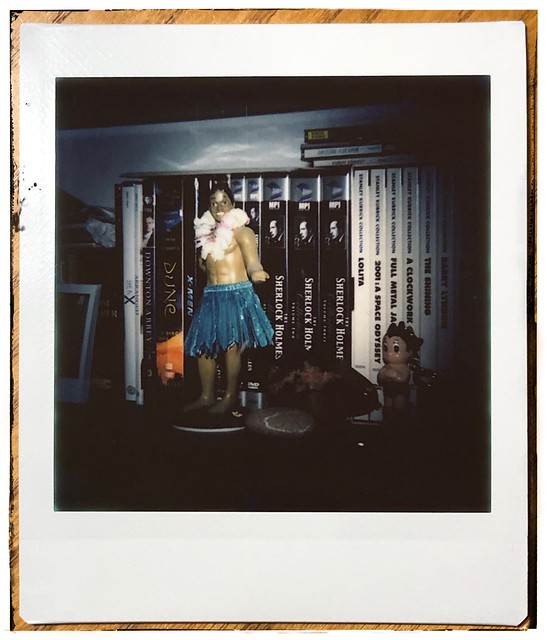
fun fun fun...
enjoy!
G
The Instant Magny 35 has arrived! Nicely packaged for shipment, the unit itself is nicely packaged too. Just handling it, it has a well-made, precise, quality feel. It fitted up to my M4-2 easily and quickly. I fitted a Nikon SB-30 to it, set f/5.6 @ 1/50 second, and made a test exposure.. It works well!
First test exposure ... Color Skopar 50mm f/2.5 set to f/5.6, camera set to 1/50 flash sync, distance at 0.9m, auto flash. I was a bit close and should have flipped the diffuser on the flash to kill the hot spot, but it all works well. Note that I've flipped the image left to right in SnapSeed.
fun fun fun...
enjoy!
G
KeithDM
Well-known member
Never heard of it - I had to Google it! An interesting device, albeit not exactly suited for some uses such as 'street'. Presumably the resolution etc should be better than from the Fuji Instax?I don’t know whether to classify this as shooting with a Leica M or not...
The Instant Magny 35 has arrived! Nicely packaged for shipment, the unit itself is nicely packaged too. Just handling it, it has a well-made, precise, quality feel. It fitted up to my M4-2 easily and quickly. I fitted a Nikon SB-30 to it, set f/5.6 @ 1/50 second, and made a test exposure.. It works well!
First test exposure ... Color Skopar 50mm f/2.5 set to f/5.6, camera set to 1/50 flash sync, distance at 0.9m, auto flash. I was a bit close and should have flipped the diffuser on the flash to kill the hot spot, but it all works well. Note that I've flipped the image left to right in SnapSeed.
fun fun fun...
enjoy!
G