Warren, your post-processing is exquisite – besides the scene capturing with the camera, of course. Can you dive a bit into how you arrive at the tones and acuity in your uploaded pictures. My rescaled Flickr uploads never seem to be rendered as well as is the case with your files.
Perhaps you explained in another thread before, then please point me there. Cheers!
That's really nice of you to say and makes me feel like I'm making some progress–retouching definitely falls under the category of continuous improvement.
Since I've just switched from a Hasselblad to a Phase One back I'm still working on fine tuning my workflow. The basic color and exposure corrections in Capture One are great, but so far I'm struggling with the masking tools. The Adobe masking tools give me better control so I'm landing on a hybrid approach. Basic corrections in Capture One, then final edits in Photoshop/ACR.
At this point, my workflow follows this pattern:
- basic exposure and color adjustments in Capture One
- depending on the shot, I may make a clone with different white balance/exposure/hdr corrections and load both versions into a stack so I can blend them (e.g. sometimes the sky looks good at one color temperature and the foreground looks good at a different color temperature, same for contrast, same for exposure, etc.)
- choose edit files in photoshop (16 bit, no sharpening)
- once the files are in photoshop then I create smart objects (if there are multiple files then I use the photoshop stacking script and align layers first)
- for density and color correction I do as much as I can using the Camera Raw Filter adjustments, which is why I convert the layers to smart objects first. It's a work in progress, but the methods I use in Photoshop/ACR borrow heavily from what I've learned watching the video tutorials by Adam Gibbs [https://adamgibbs.com/] and Alex Noriega [https://www.alexnoriega.com/].) Adam Gibbs is more subtle and his editing process is quicker. Alex Noriega is more dramatic and his editing process has more steps. Both excellent in their own right. The following 10 steps are the gist of it, but I highly recommend watching the videos for the nuance. The videos I watched by Alex Noriega are his old ones, he is releasing new videos with updates to his process soon. I'll be getting those as soon as they come out. They're not free, but worth every penny in my opinion. HERE ARE THE STEPS:
- adjust in ACR, blend it, evaluate, repeat until satisfied. I usually start with white balance and exposure. I avoid contrast and use whites and blacks instead because those give me individual control over each end. Frequently I'll raise the shadows a bit as well. With multiple layers I use the same steps, but have the added complexity of making two layers blended together look natural (be sure to leave a little bit of room on both ends of the histogram for Photoshop adjustments)
- after ACR adjustments are made then it's all non-destructive adjustments using layers. The first step is to adjust shadow and highlights with curves and levels using masks created in the channels control panel (change layer blending mode to luminosity for these changes)
- then adjust color balance for shadows and highlights separately using masks created in the same way (change layer blending mode to color for these changes)
- find dark and light colors with curves to fix color shifts (sometimes this works beautifully, sometimes not)
- use hue/saturation to remove color contamination– usually excessive magentas, blues, cyans, and greens (this can make a big difference)
- create a retouch layer and use the spot healing tool and stamp tool with sample all layers selected
- use select color range and overlay/color burn blend mode color layers to enhance specific colors
- stamp visible and convert it to smart object
- make some minor tweaks in ACR if needed
- double check levels and add a linear contrast adjustment if needed
- done for now, until you look at it later and something else you don't like jumps out at you
 the good news is everything is non-destructive so you can go back and fix it, although you may have to redo your retouch layer if you want to redo something below it
- once I have my final.final file then I use the Web Resize v5 actions by alexnail.com for resizing images. He offers them as a free download on his website. The sharpening results I get from these actions are better than what I get using the export options in Capture One.
My goal is always to be nuanced at each level, but I have trouble having a clear vision of what I am trying to achieve ahead of time. Creating a mood is difficult for me. Generally, I feel like my results end up being a bit flat because I tend to process the contrast out in favor of getting details in the highlights and shadows. Even though I know better, I still do it!
Thank you again, and hopefully all of this helps!
 SITE Santa Fe by Warren Diggles, on Flickr
 SITE Santa Fe by Warren Diggles, on Flickr
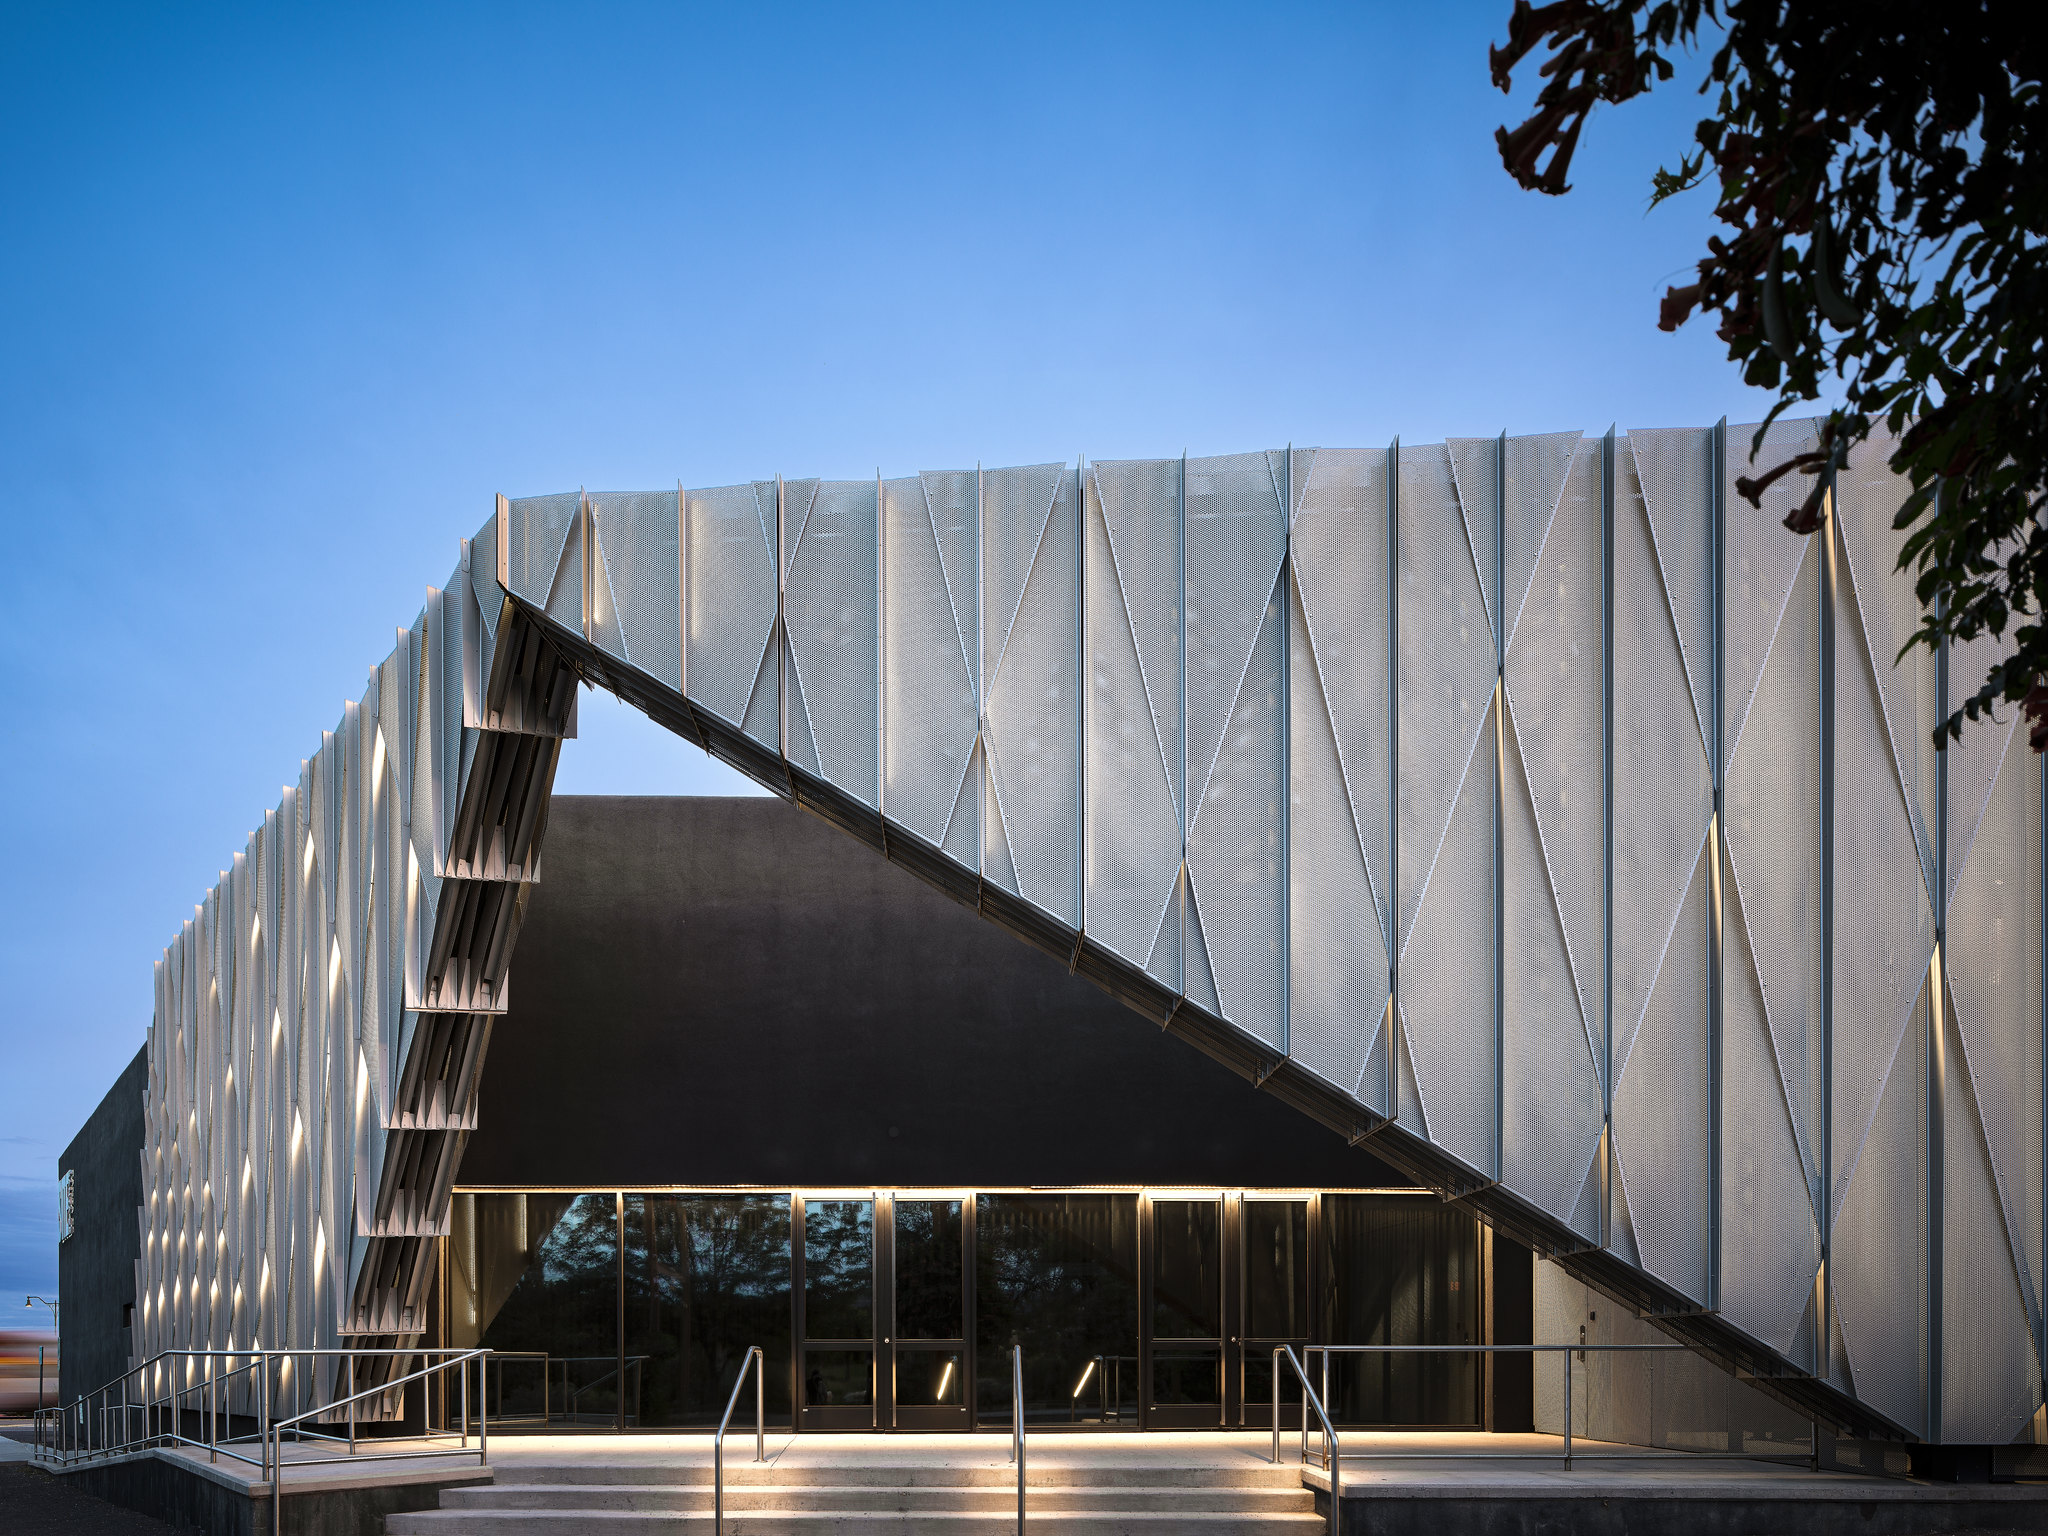 SITE Santa Fe by Warren Diggles, on Flickr
 SITE Santa Fe by Warren Diggles, on Flickr
 Algodones Power Plant - Engineering
 Algodones Power Plant - Controls
 Algodones Power Plant - Windows
 Algodones Power Plant - Abandoned Office
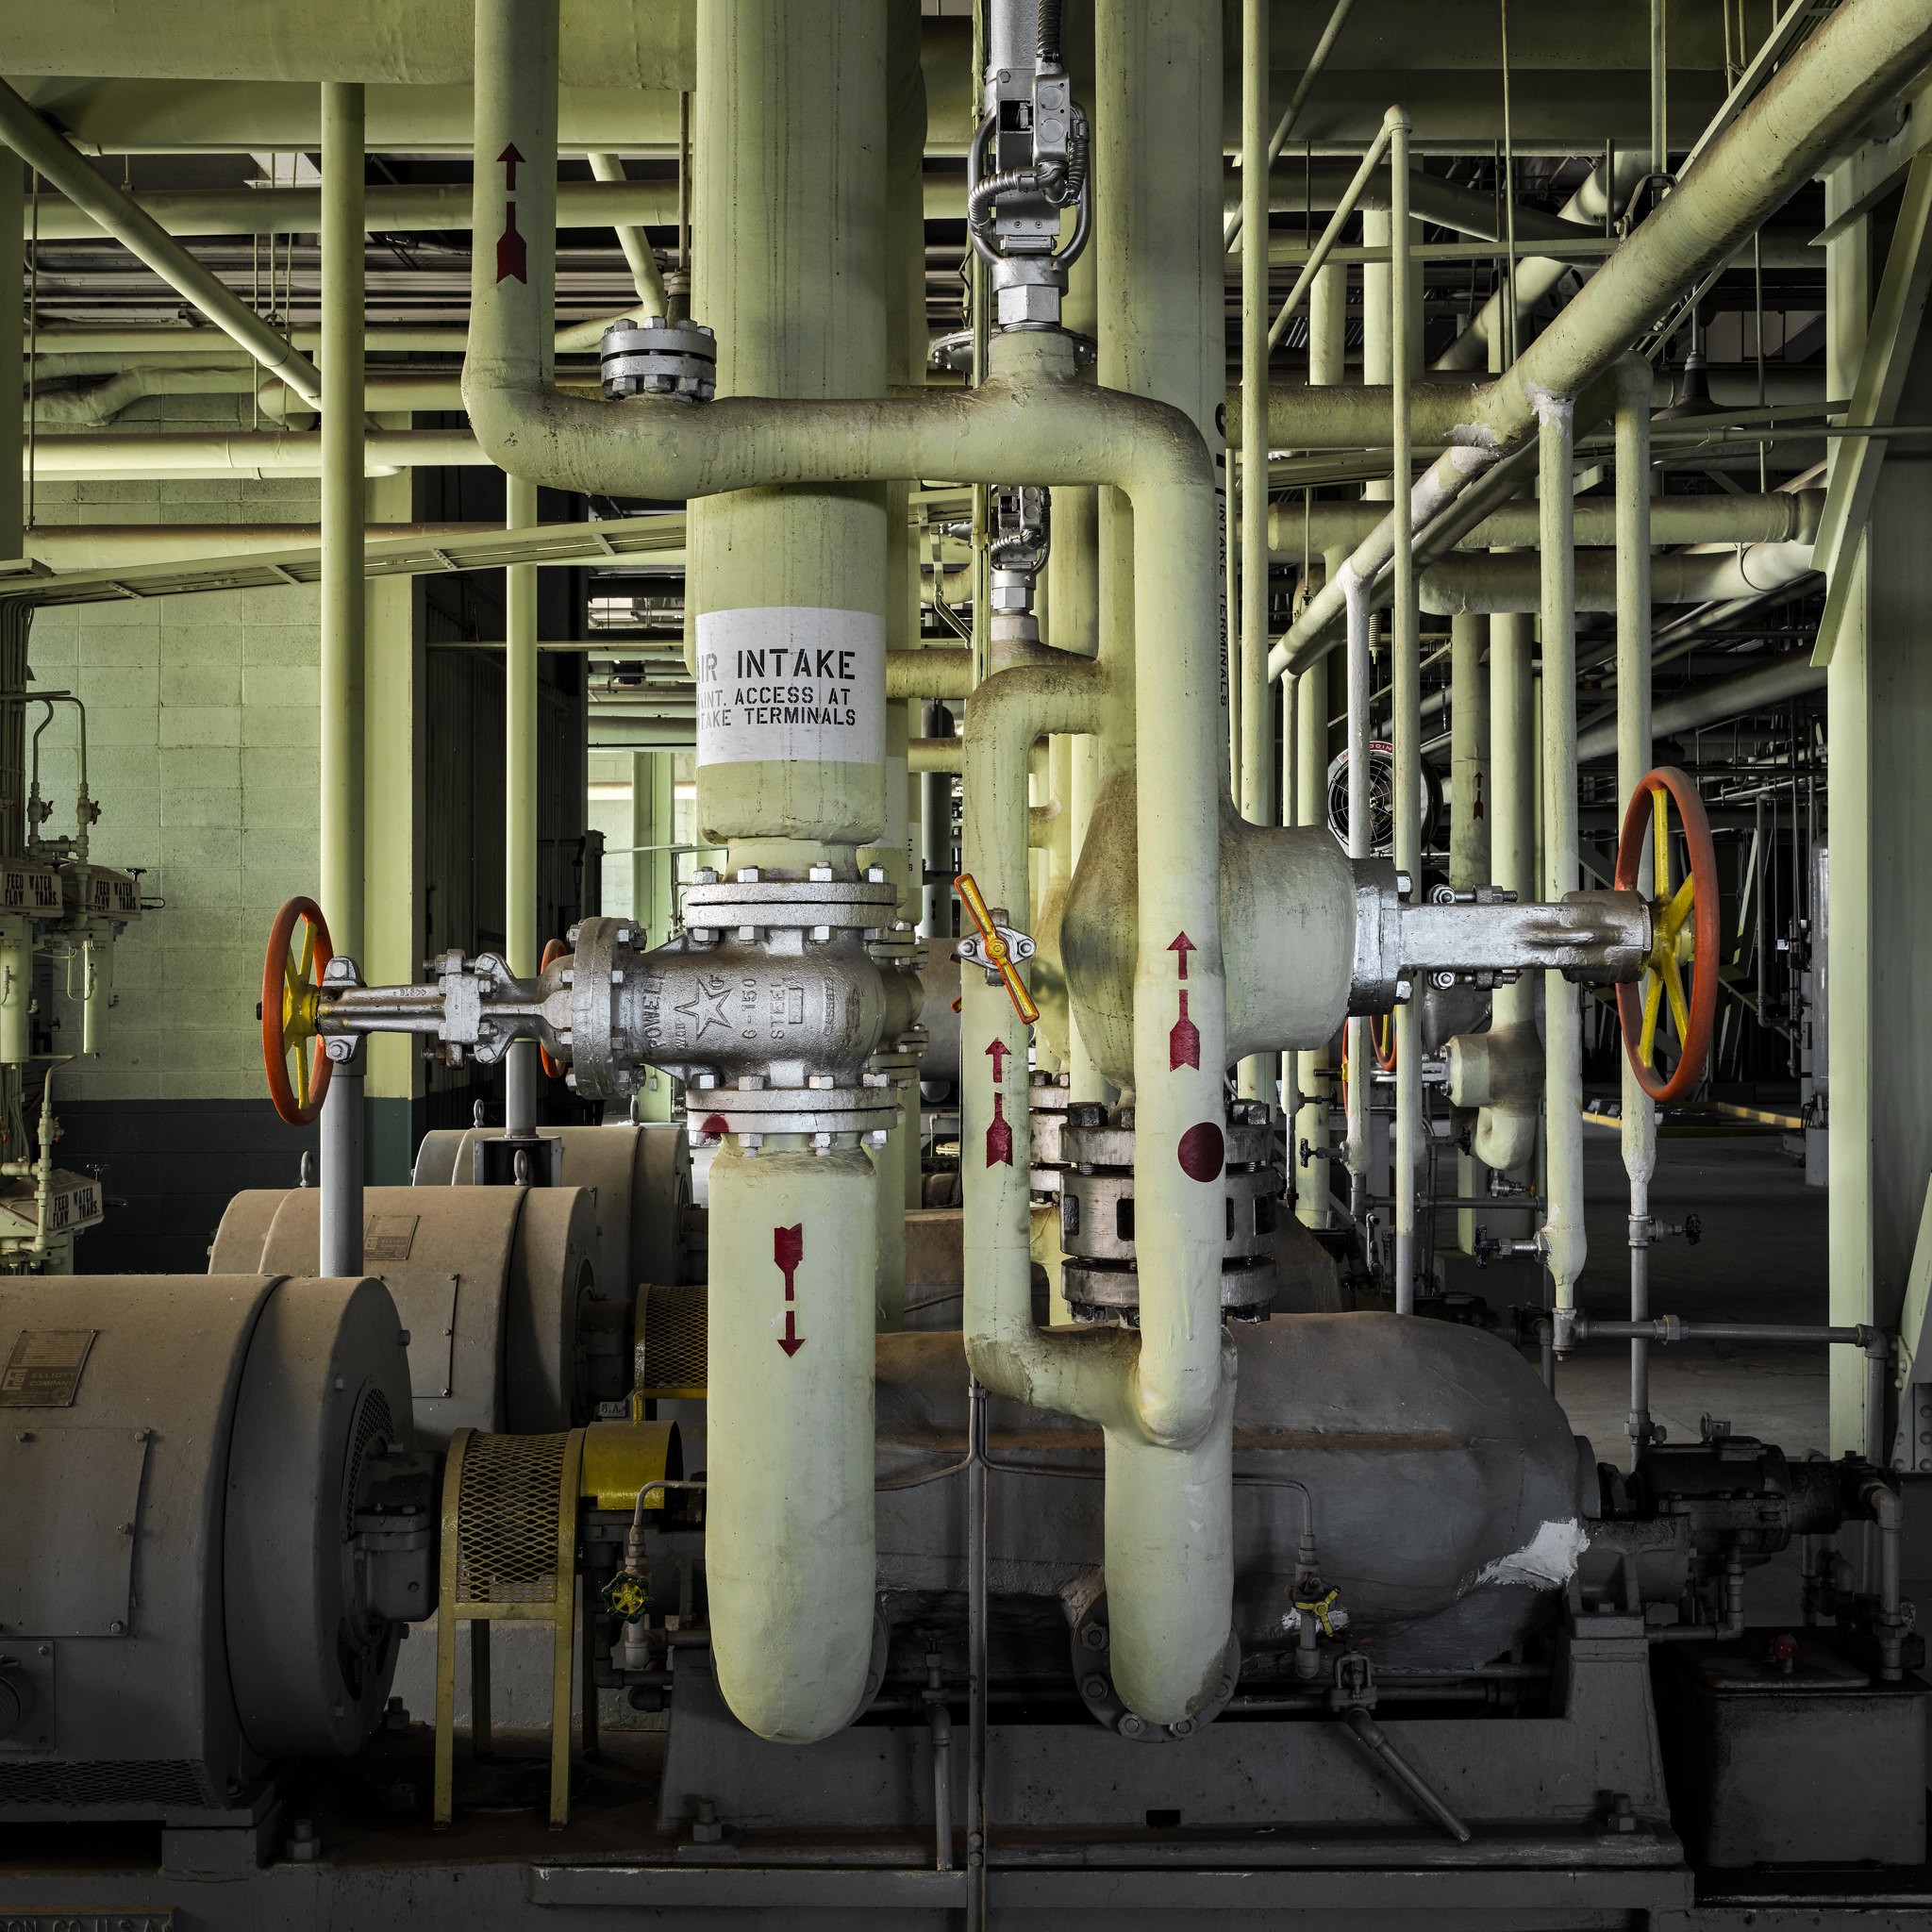 Algodones Power Plant - Air Intake


 Sprague Lake RMNP P0000374
 Sprague Lake RMNP P0000399
